baby artichokes
Artichokes are great any size. I can make a meal of them every day. And with each leaf I nibble I wonder: Who ever thought of cooking this thistle and eating it this way? You know: pull off a leaf, don’t eat the leaf, but eat the tip of heart at the bottom of the leaf. Why did any think we should go through all this trouble for a tip of a leaf?
Whoever it was had genius in his/her brain. The ritual is as enticing as the taste. Food that takes you on a journey. The going is a grand ride, the arrival a sumptuous feast. That concentrated heart, all on its own, full bites of genius.
But imagine eating the entire artichoke. (It puts me in mind of soft-shelled blue-claw crabs: yes, you can eat the entire crab!) Baby artichokes are easy to trim, then you cook the whole thing, and then you eat the WHOLE thing. Sometimes I wonder if baby artichokes are like baby fish or clams or lobsters. Shouldn’t we throw them back in so they can grow? But with this plant, it’s not too much of a crime to eat them while young.

baby artichoke ingredients
Here’s how:
First, cut off the top third of the leaves. And cut off the stem.

cut top off baby artichoke
Then pull off all the tough dark green leaves until you come to the pale green leaves. Trim away any bright green from heart bottom.

trim away any green
Place them in acidulated water as you go (water with the juice of lemon). This helps them keep their color and not blacken.

lemon water
Then add them to a medium or large saucepan (depending on how many artichokes you have). Add water (you can even use your acidulated water for a lemony taste). Add parsley. Add smashed garlic cloves. Add a few healthy drizzles of olive oil. And season with salt and pepper.
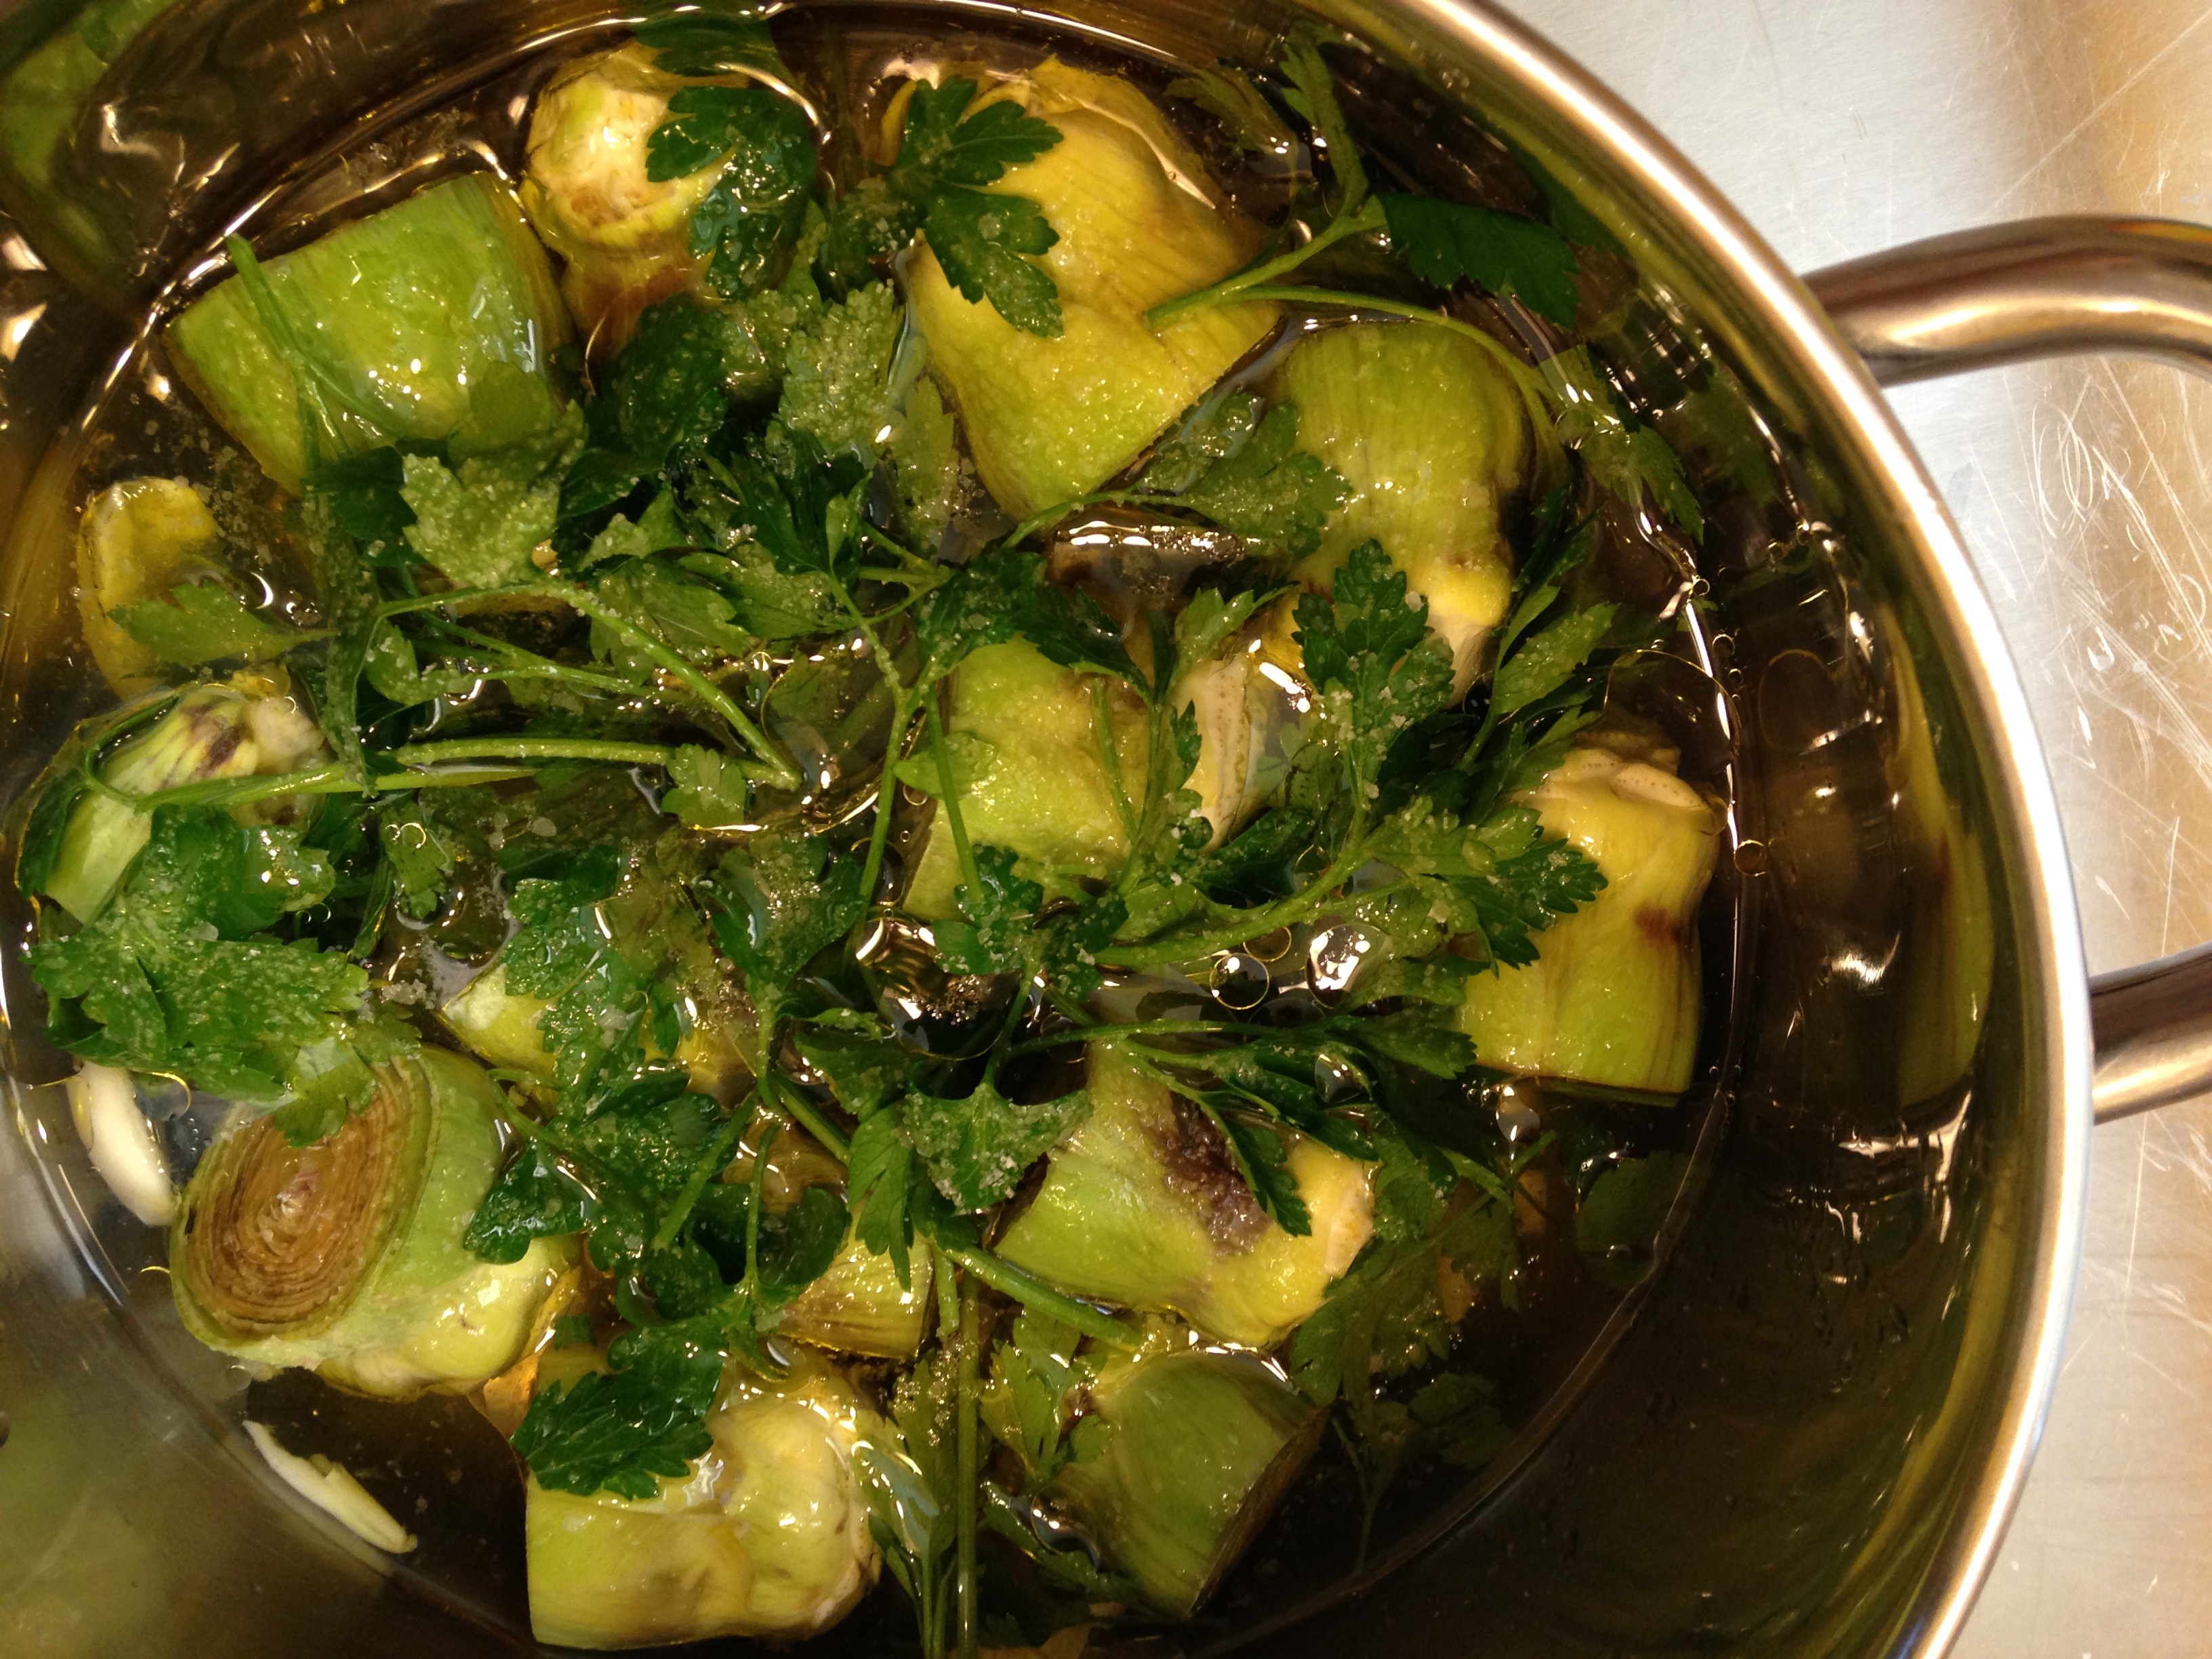
artichokes in water, olive oil, parsley and garlic
Bring to a simmer, then partially cover and cook for about 40 minutes, until a paring knife pokes easily into the heart.
There you have it. Eat the whole thing (I use a fork and knife). The world is your artichoke.

baby artichokes
And check out this cool story about what happens when you let the thistle grow. It turns into a wondrous purple flower. (Beautiful, yes, but I want my artichoke.)

baby artichokes