cauliflower
October. Time for cauliflower. Our local Nashville farmer’s market had piles of cauliflower at their Friday night market this weekend (and tomatoes, zucchini, eggplant, broccoli, peppers, sweet potatoes, and yes, pumpkins). But that huge cauliflower at the top of the bunch called my name.
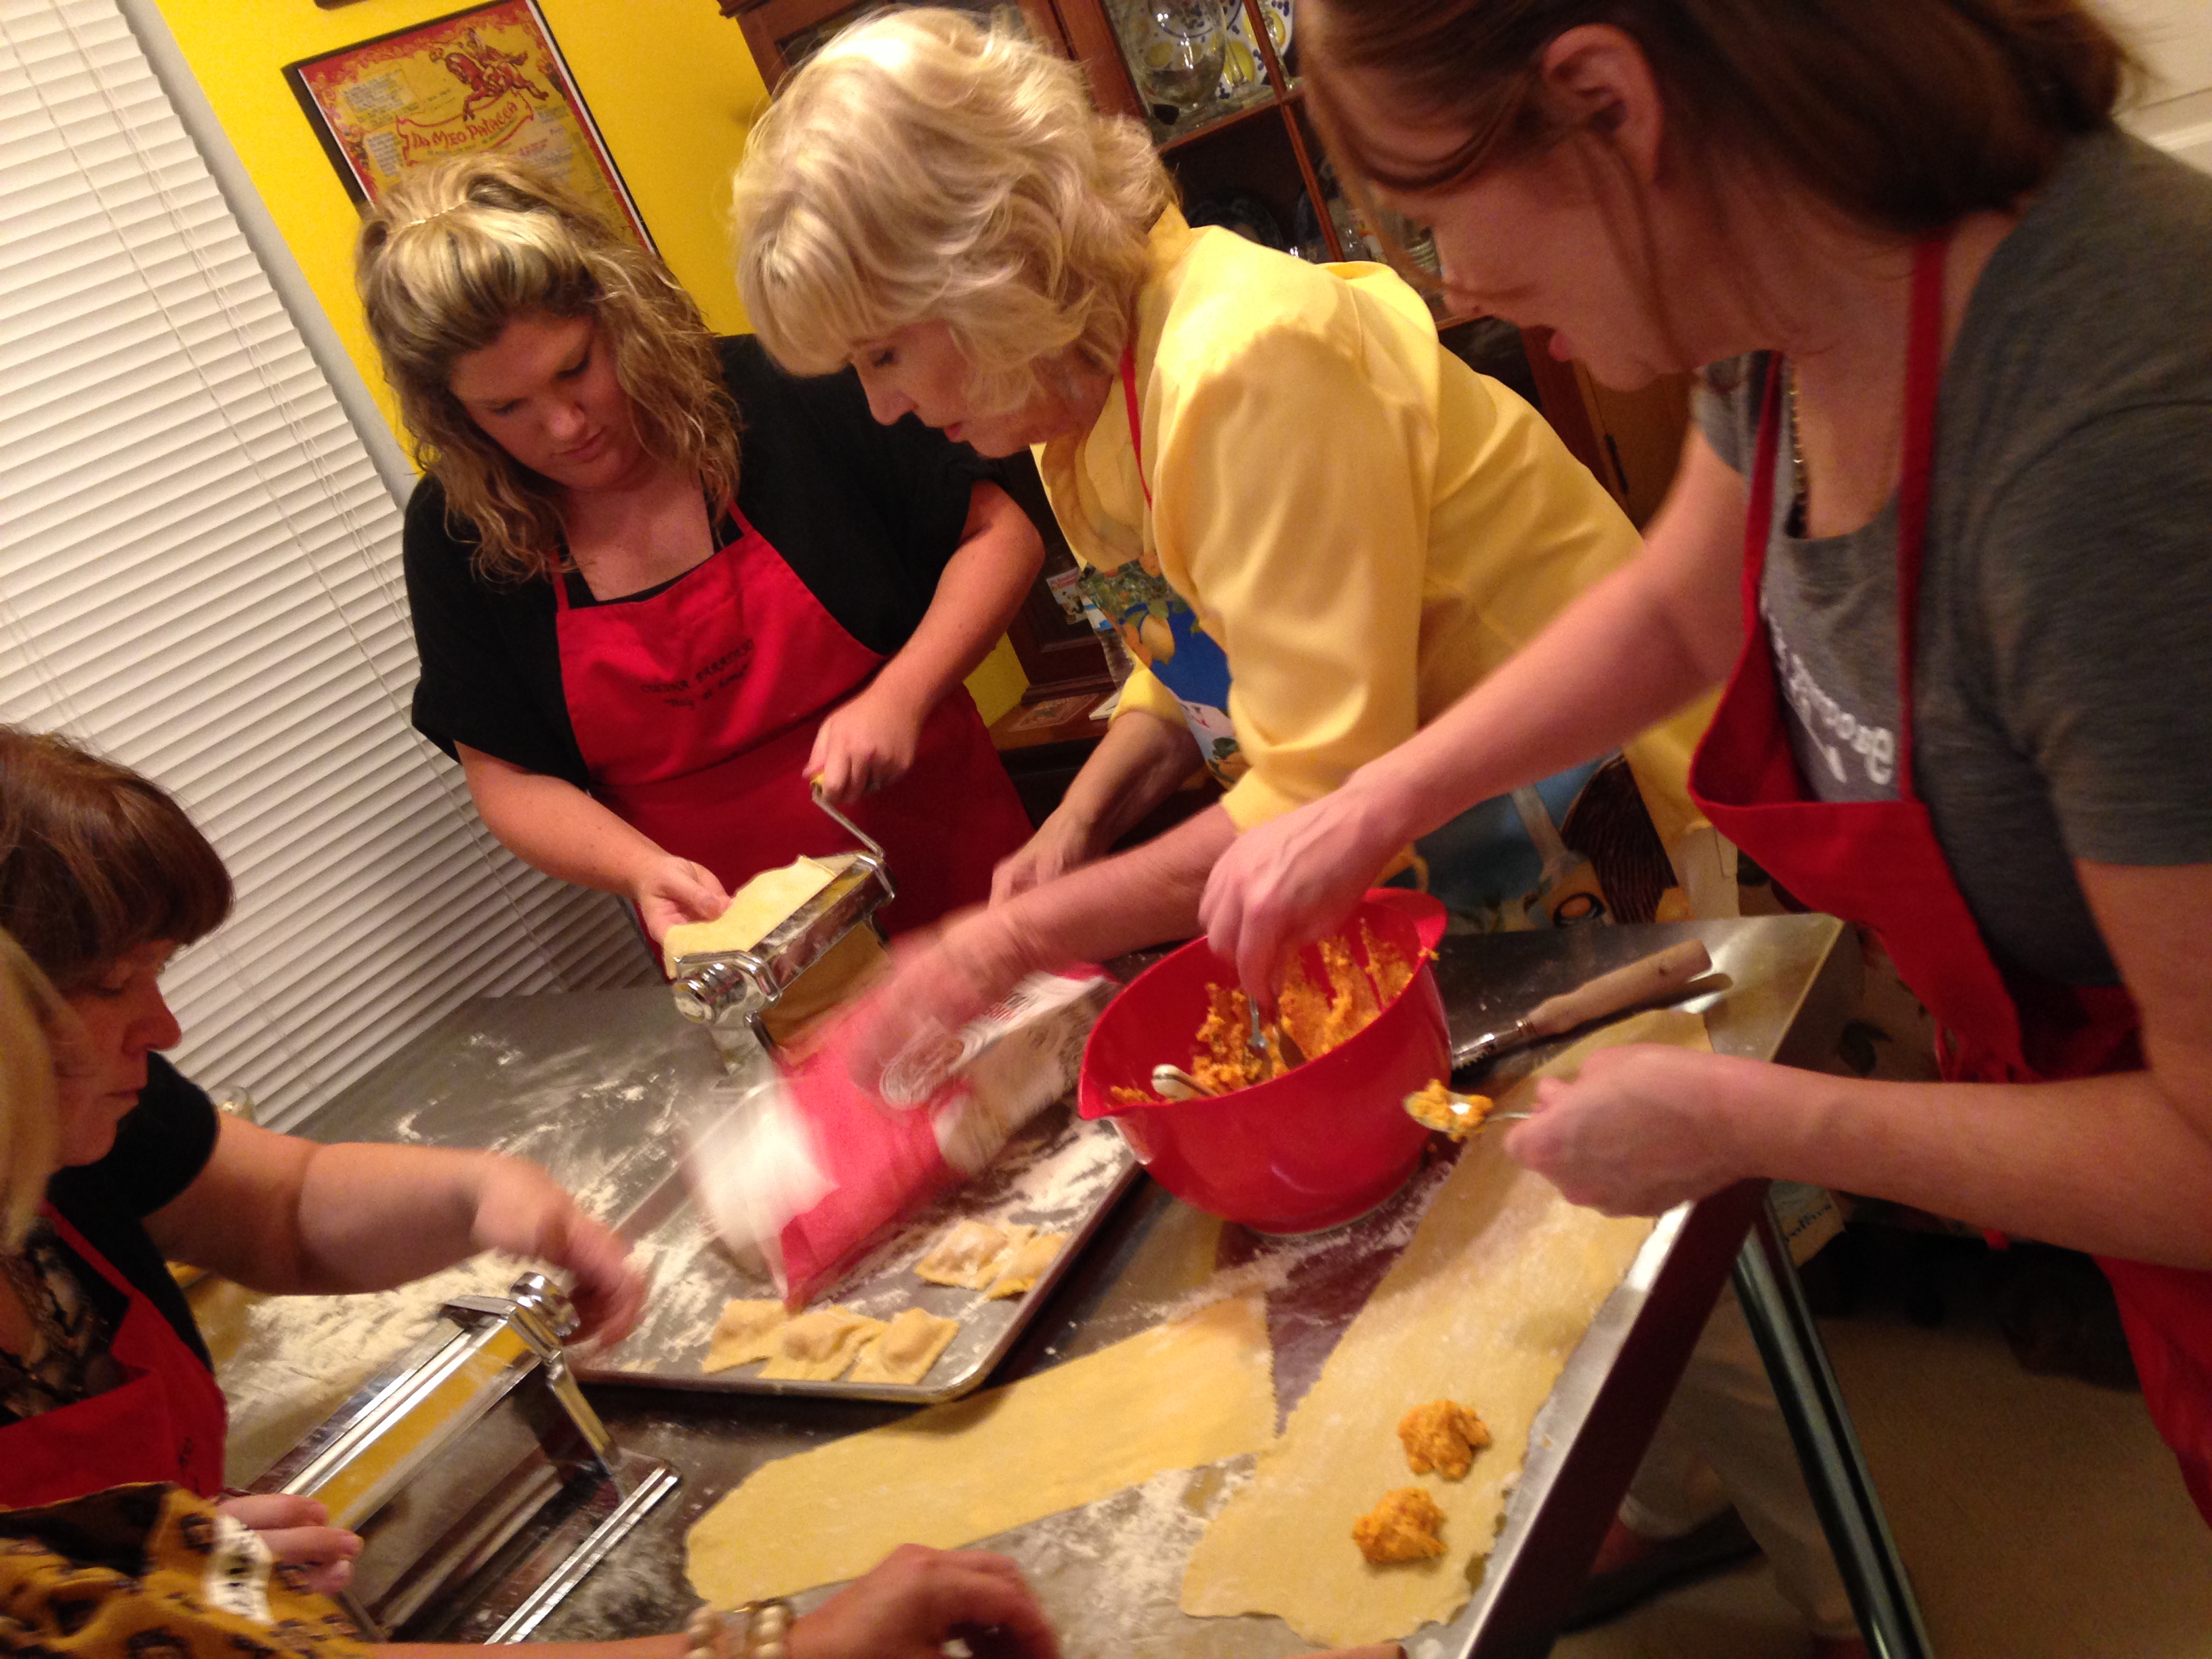
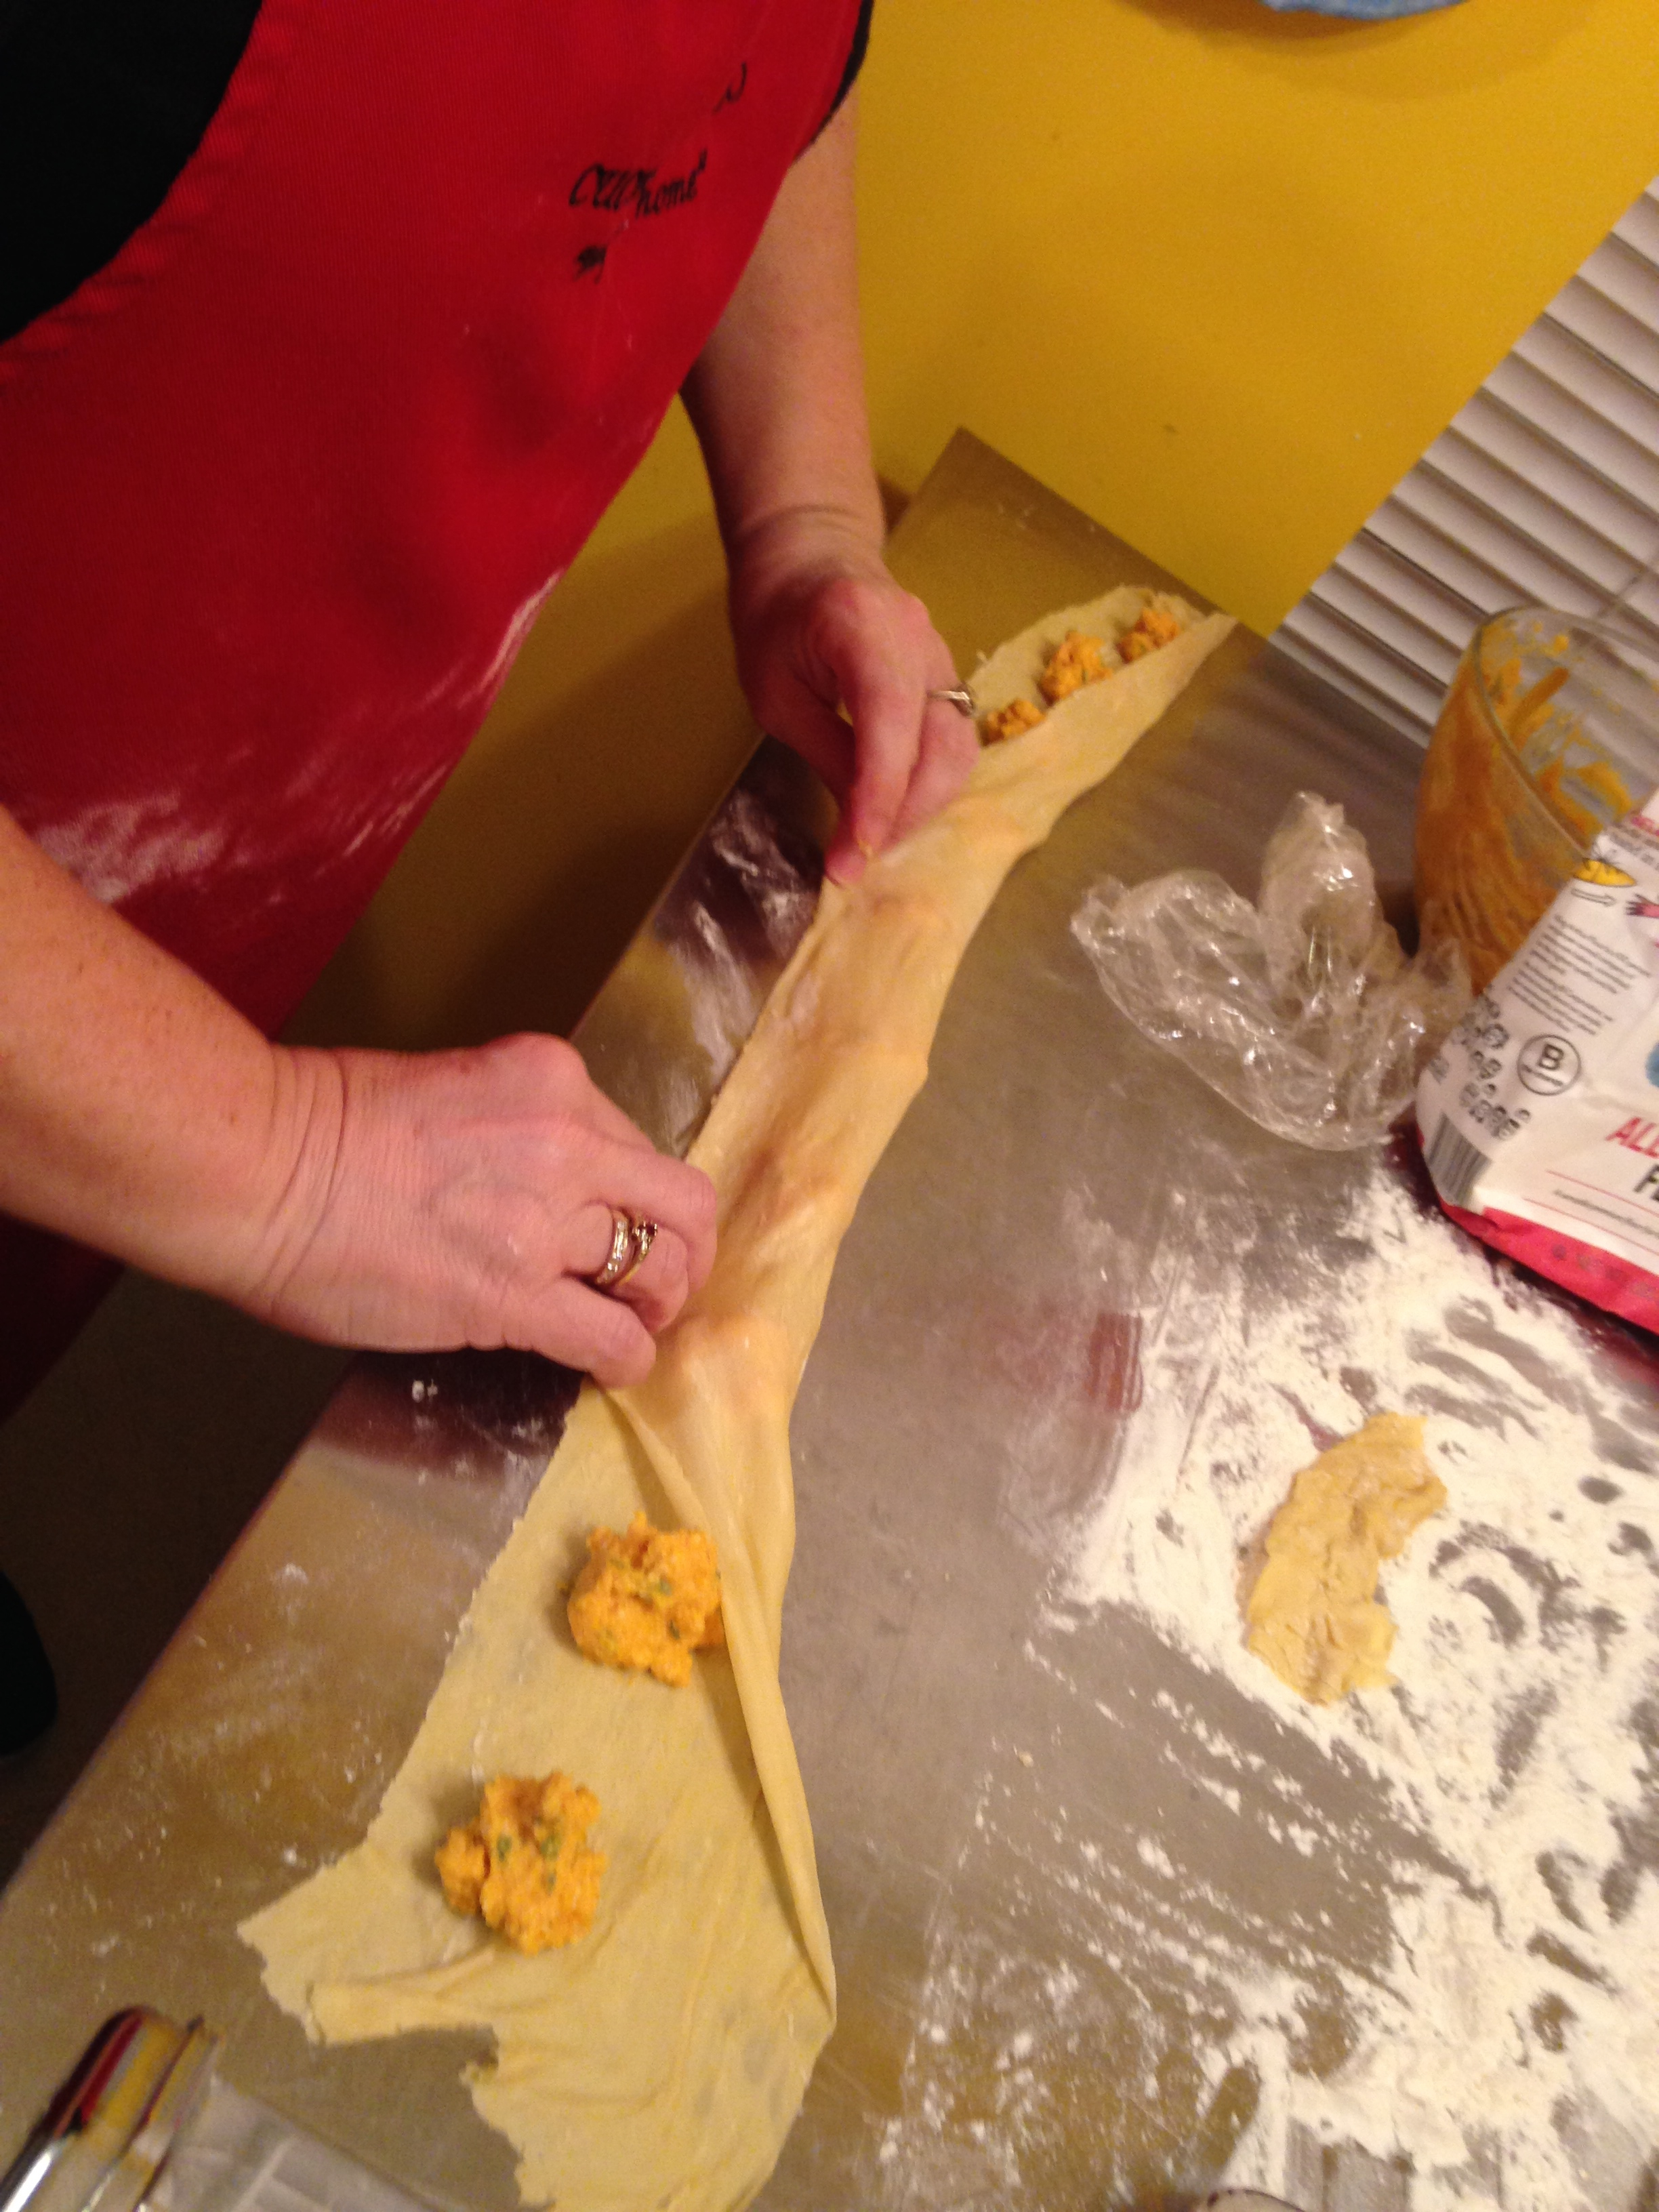
I was thinking of October 2011. When I brought a small group of Nashville cooks to Rome, Italy. They met my long-time friend Malena who lives there. She and I went to college together in Rome during the 70’s and have never lost touch. Her daughter, Eleonora, is my godchild. I hadn’t seen Eleonora for many many years, but that autumn we met while in Rome and I was giggly with her beauty and presence. Seeing mother and daughter together thrilled my soul.

Eleonora and Malena in Piazza Navona
My group and I cooked in our rented apartment, toured the city, and sampled the local restaurants. Malena showed us some of her favorite places and one night came over to cook a favorite seasonal Roman dish. And that’s just what I cooked tonight with our local farmer’s cauliflower.
She had brought a cauliflower, in season then in Rome. A loaf of bread. Orecchiette pasta. And some garlic. This dish is rustic, homey, satisfying, nourishing, and unforgettable. You wait for October to have it. Even tho you can get cauliflower other months of the year, it’s in October that this dish belongs. It’s where it tastes its best. In October your body absorbs it seamlessly and your taste buds sink into a kind of comfy-couch of flavor.
Of course, I tweaked this a bit. Malena sautéed the bread in a fry pan. I toast it in the oven. Tonight I didn’t have orecchiette pasta, I used tagliatelle. These differences don’t make much difference. All GOOD. Here we go…
Get a pasta pot of water to a boil. Trim cauliflower of stem and leaves. Cut into flowerets.

cauliflower flowerets
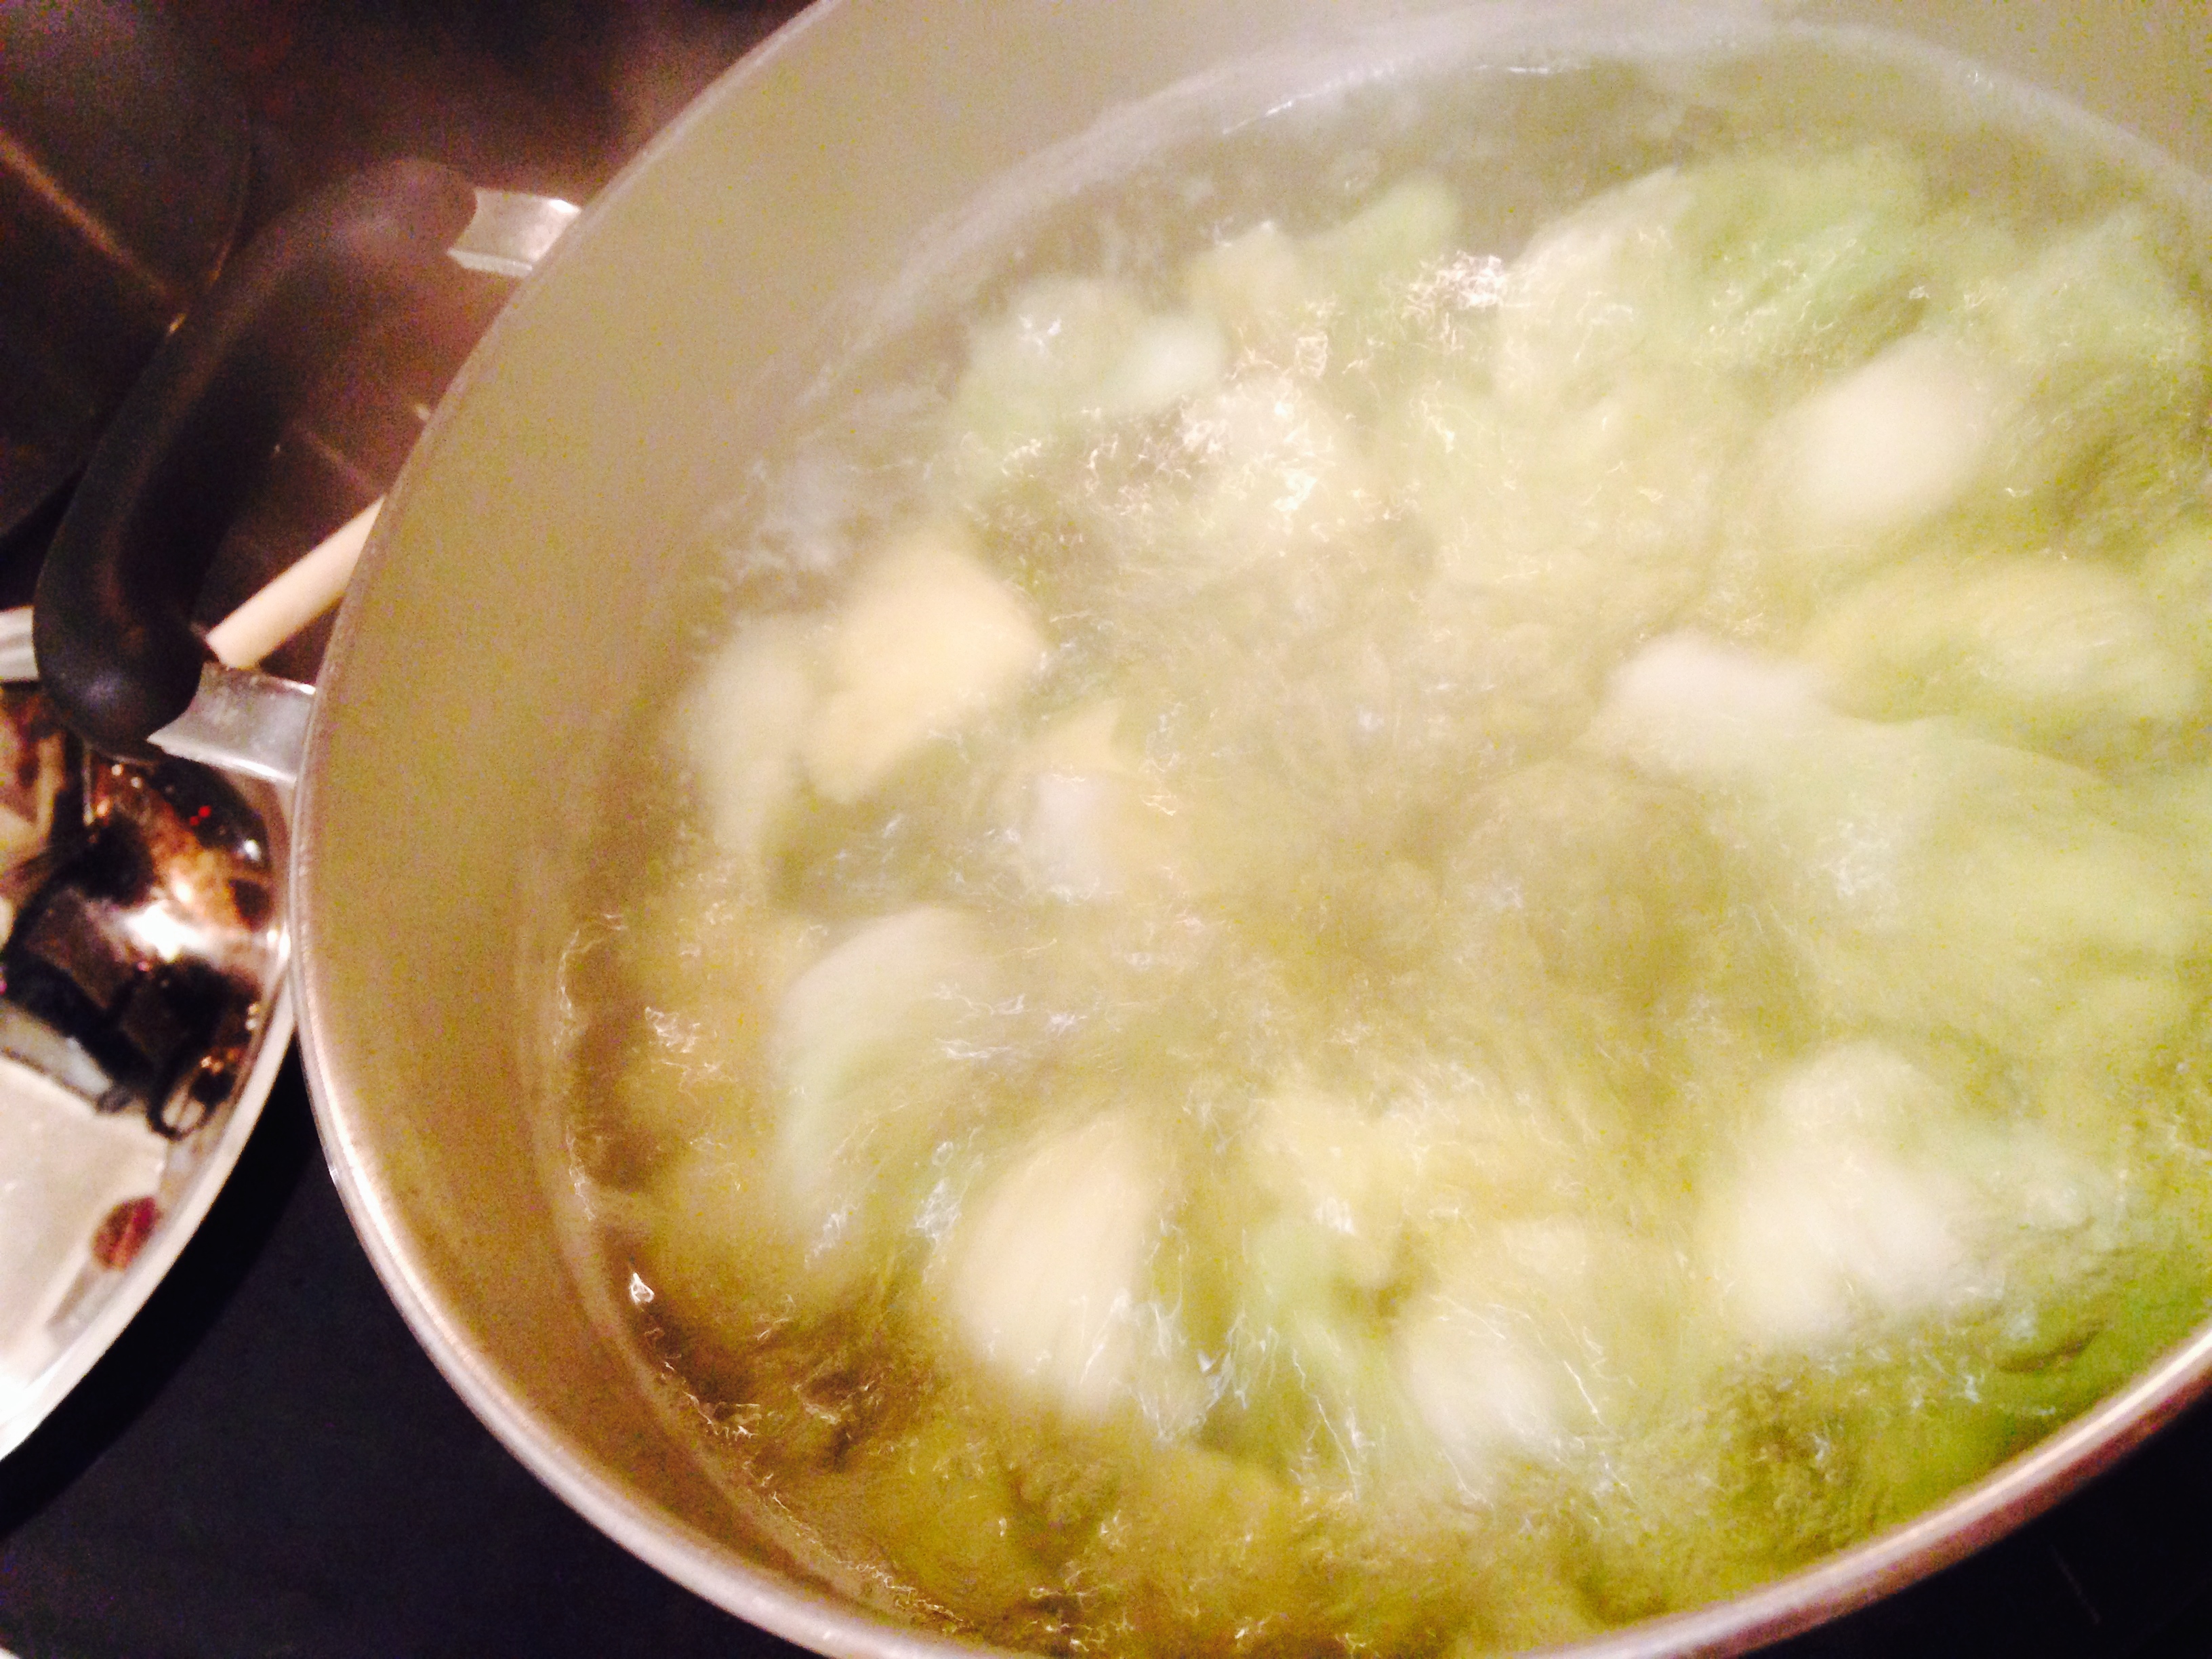
Salt boiling water and add the cauliflower flowerets.

boil cauliflower
Let the cauliflower boil. Let it boil. We want to get it soft, almost mushy.

boiling cauliflower
About 6-8 minutes into the cooking, test the cauliflower for softness. If it breaks when pressed with a wooden spoon add the pasta.

tagliatelle
Boil until pasta is cooked.
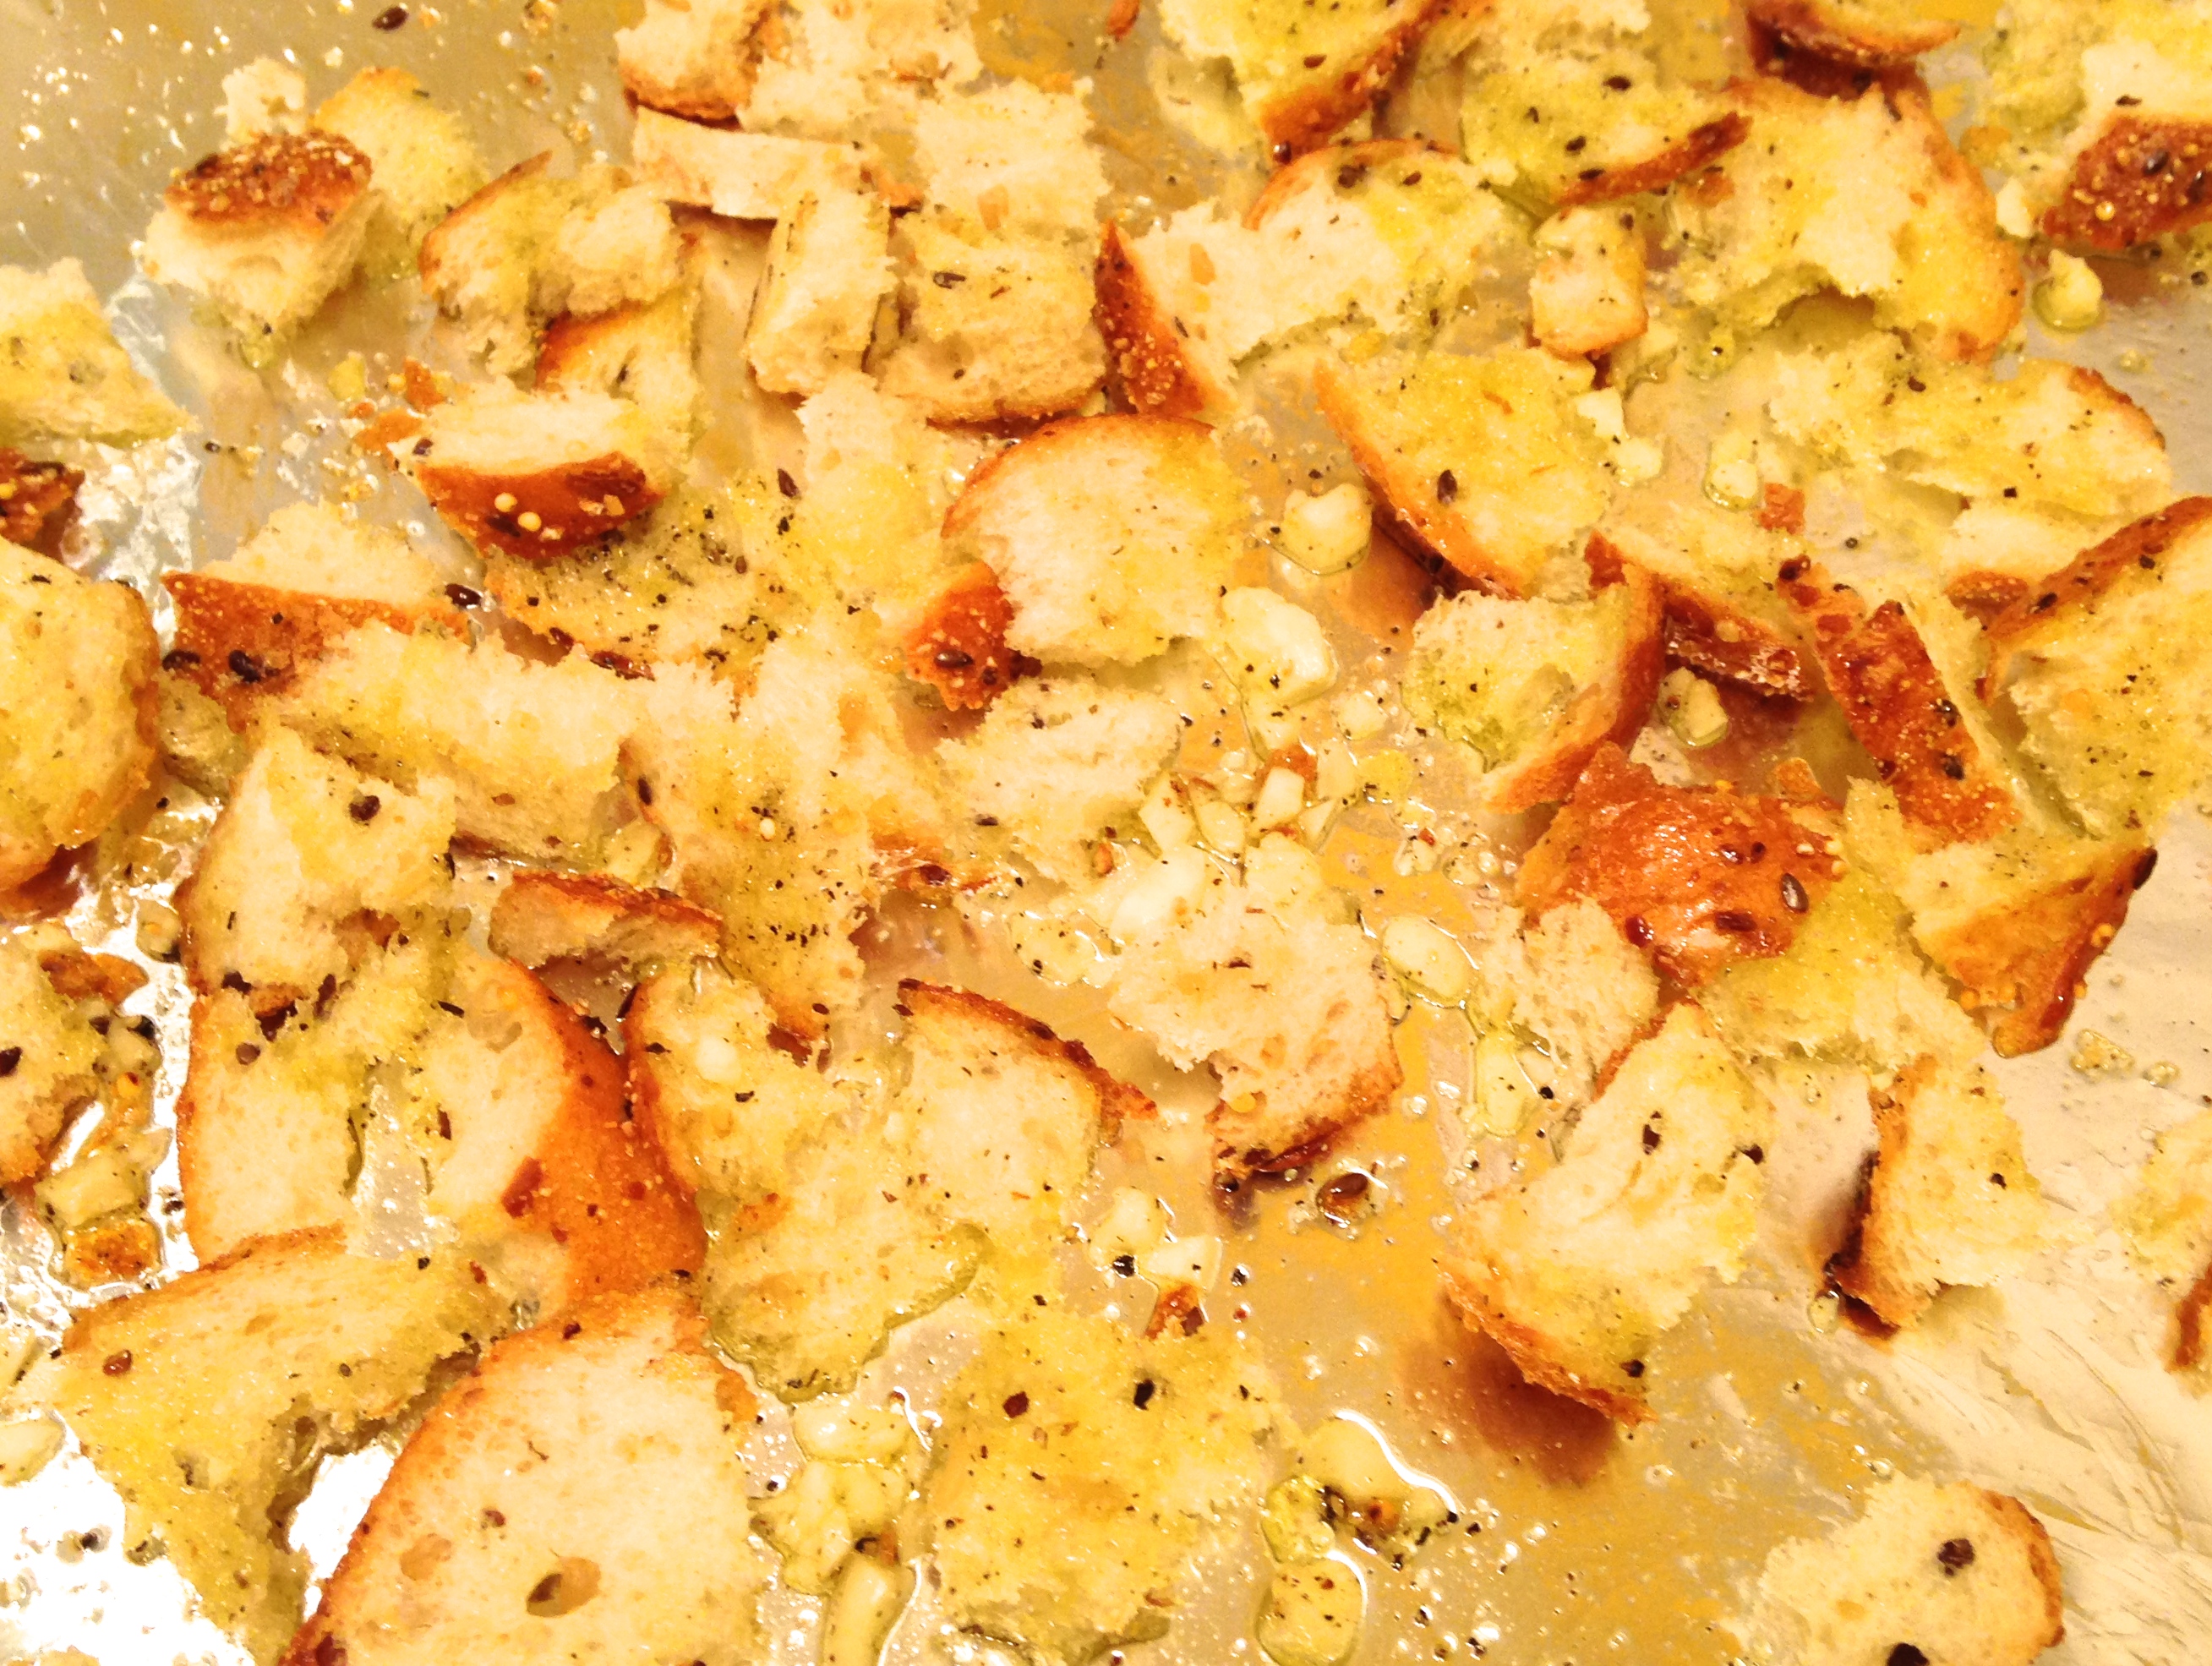
Meanwhile, tear a nice loaf of Italian bread into bite-sized pieces. (Note: Malena, and I’ll bet most Romans, only use the soft inner part of the bread for this. I add crust and all.) Lay out on a foil-lined sheet pan. Toss with some olive oil and rough chopped garlic (about 2 cloves).

torn Italian bread
Season with salt and pepper and toast in a 375 degree oven for about 5-7 minutes until browned and crisp.
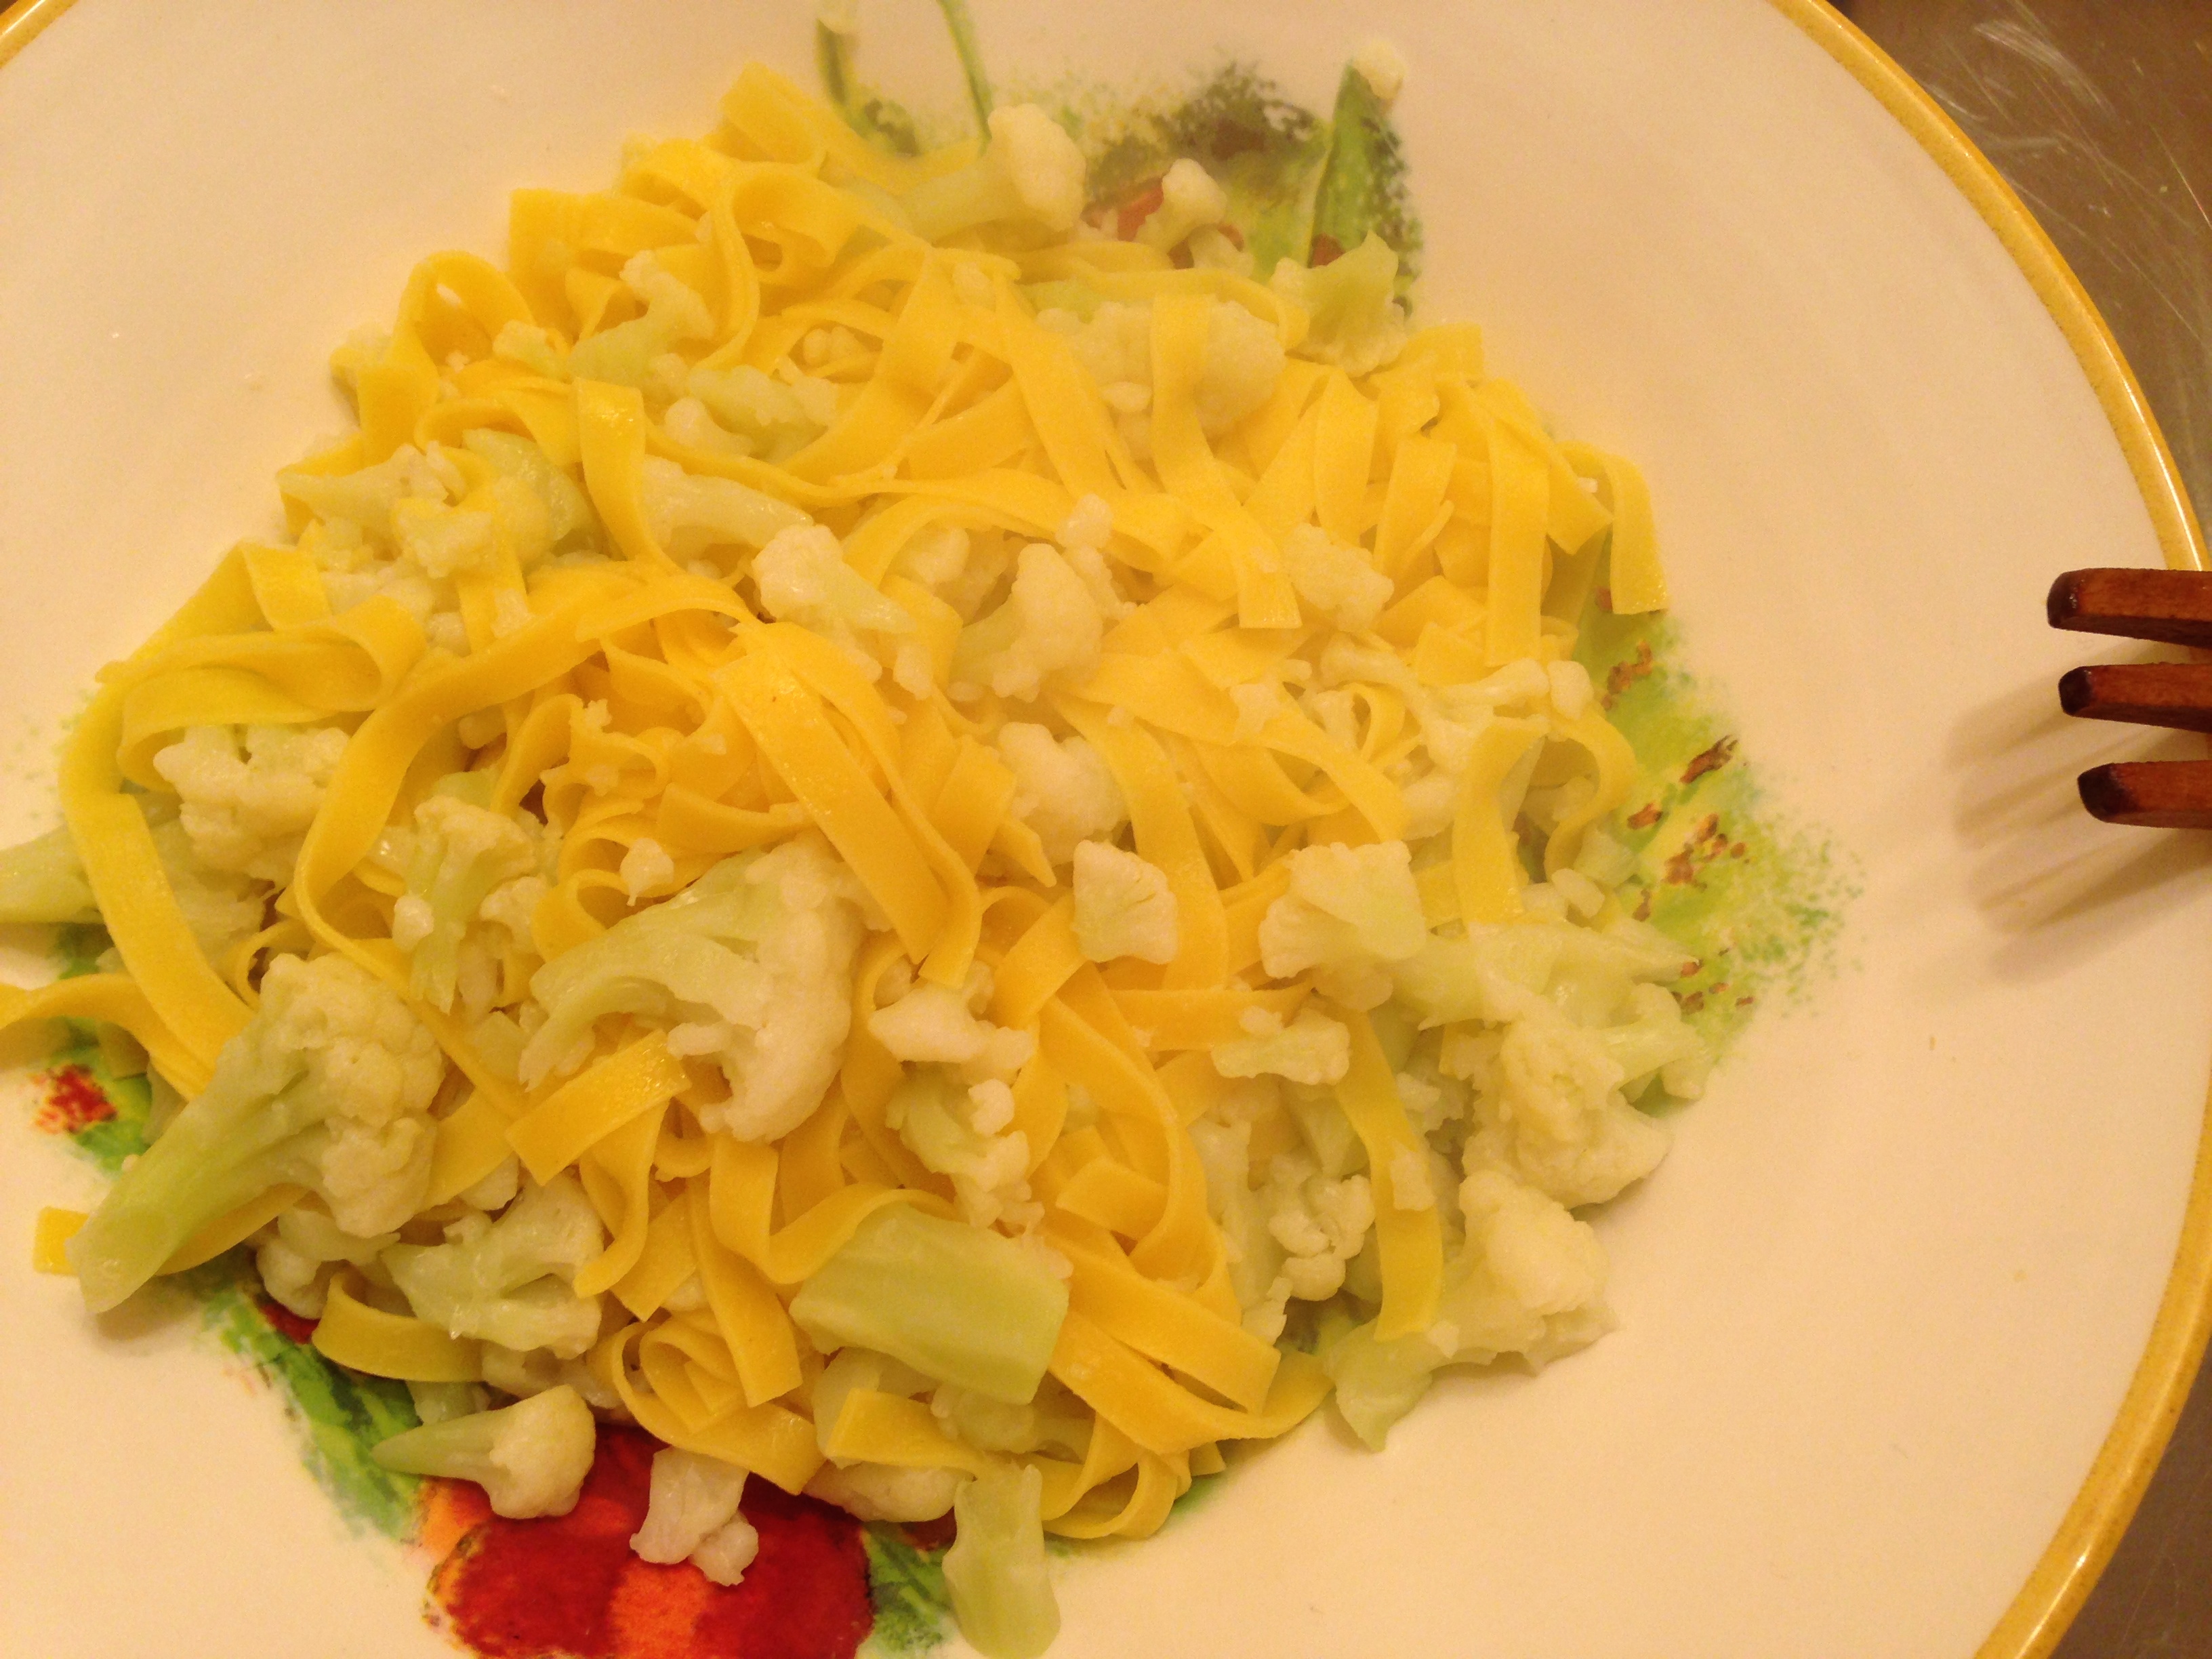
Before draining the pasta and cauliflower, reserve about a half-cup of pasta water. Transfer drained pasta and cauliflower to a serving bowl.

drained pasta and cauliflower
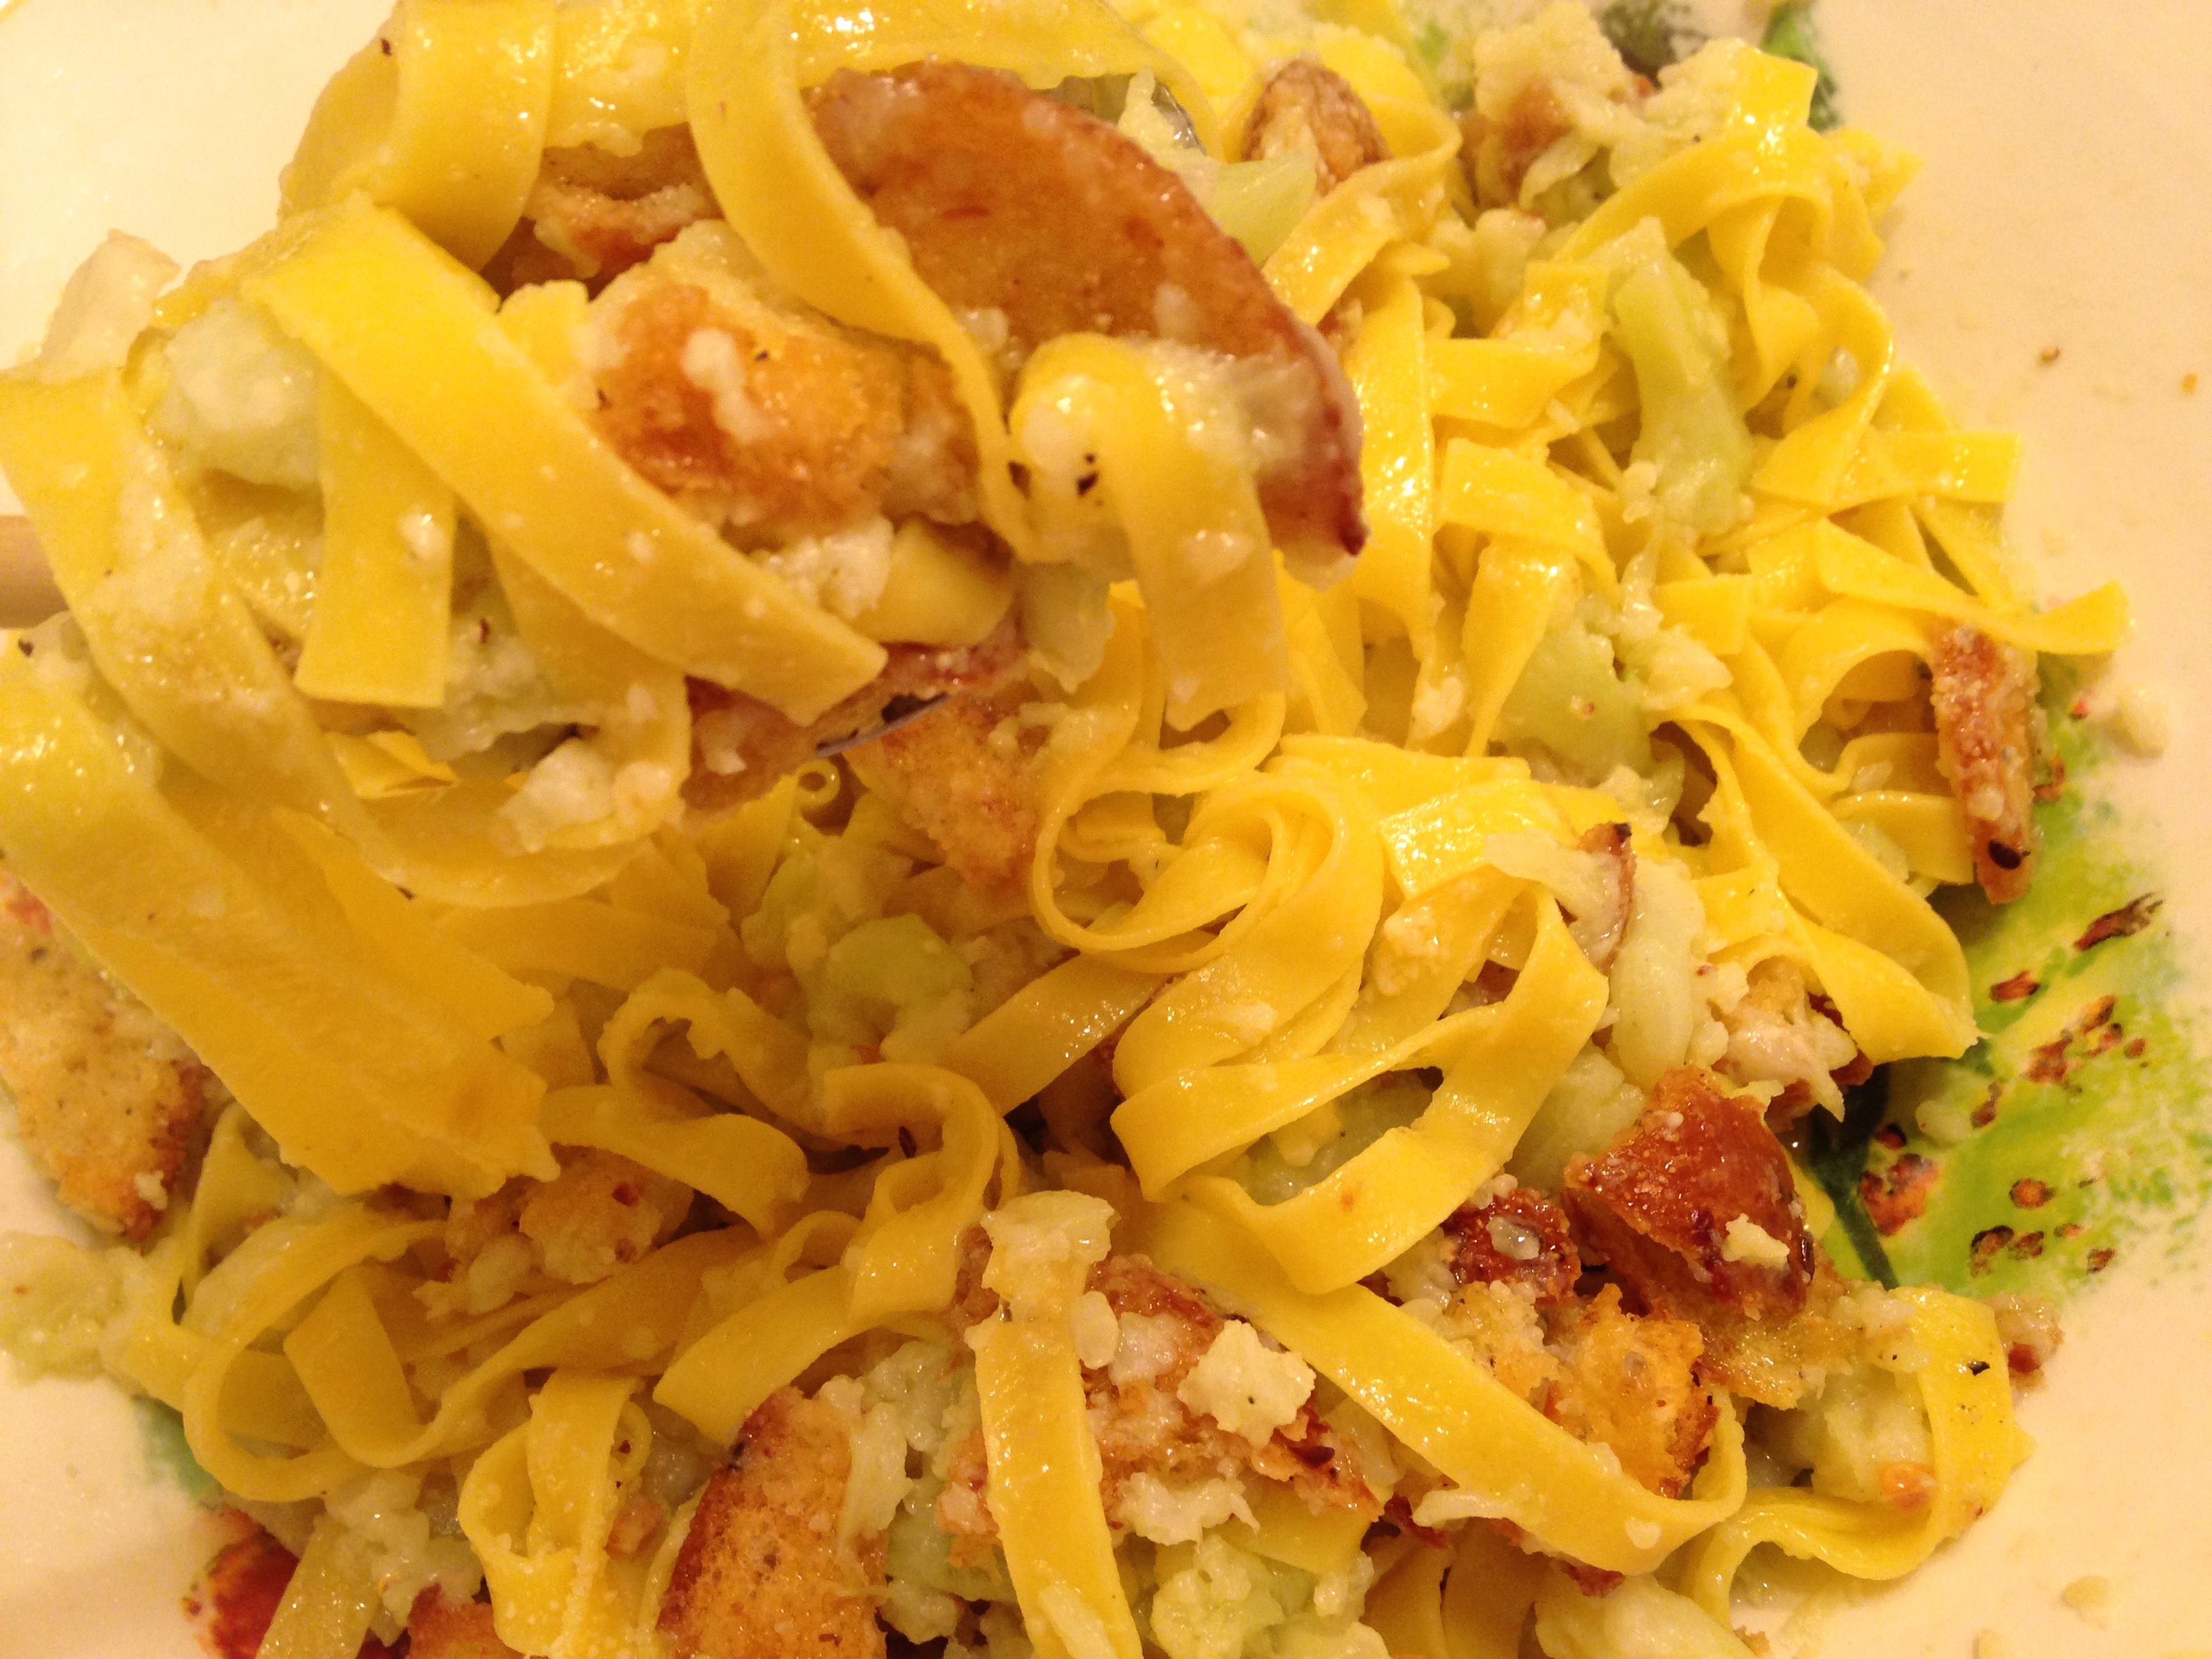
Toss drained pasta and cauliflower with a few drizzles of olive oil. Add the toasted bread.

add toasted bread
Toss with a little more olive oil. Sprinkle grated parmigiano. Season with salt if needed. Season with black pepper. Add a bit of pasta water if it needs a little moisture.

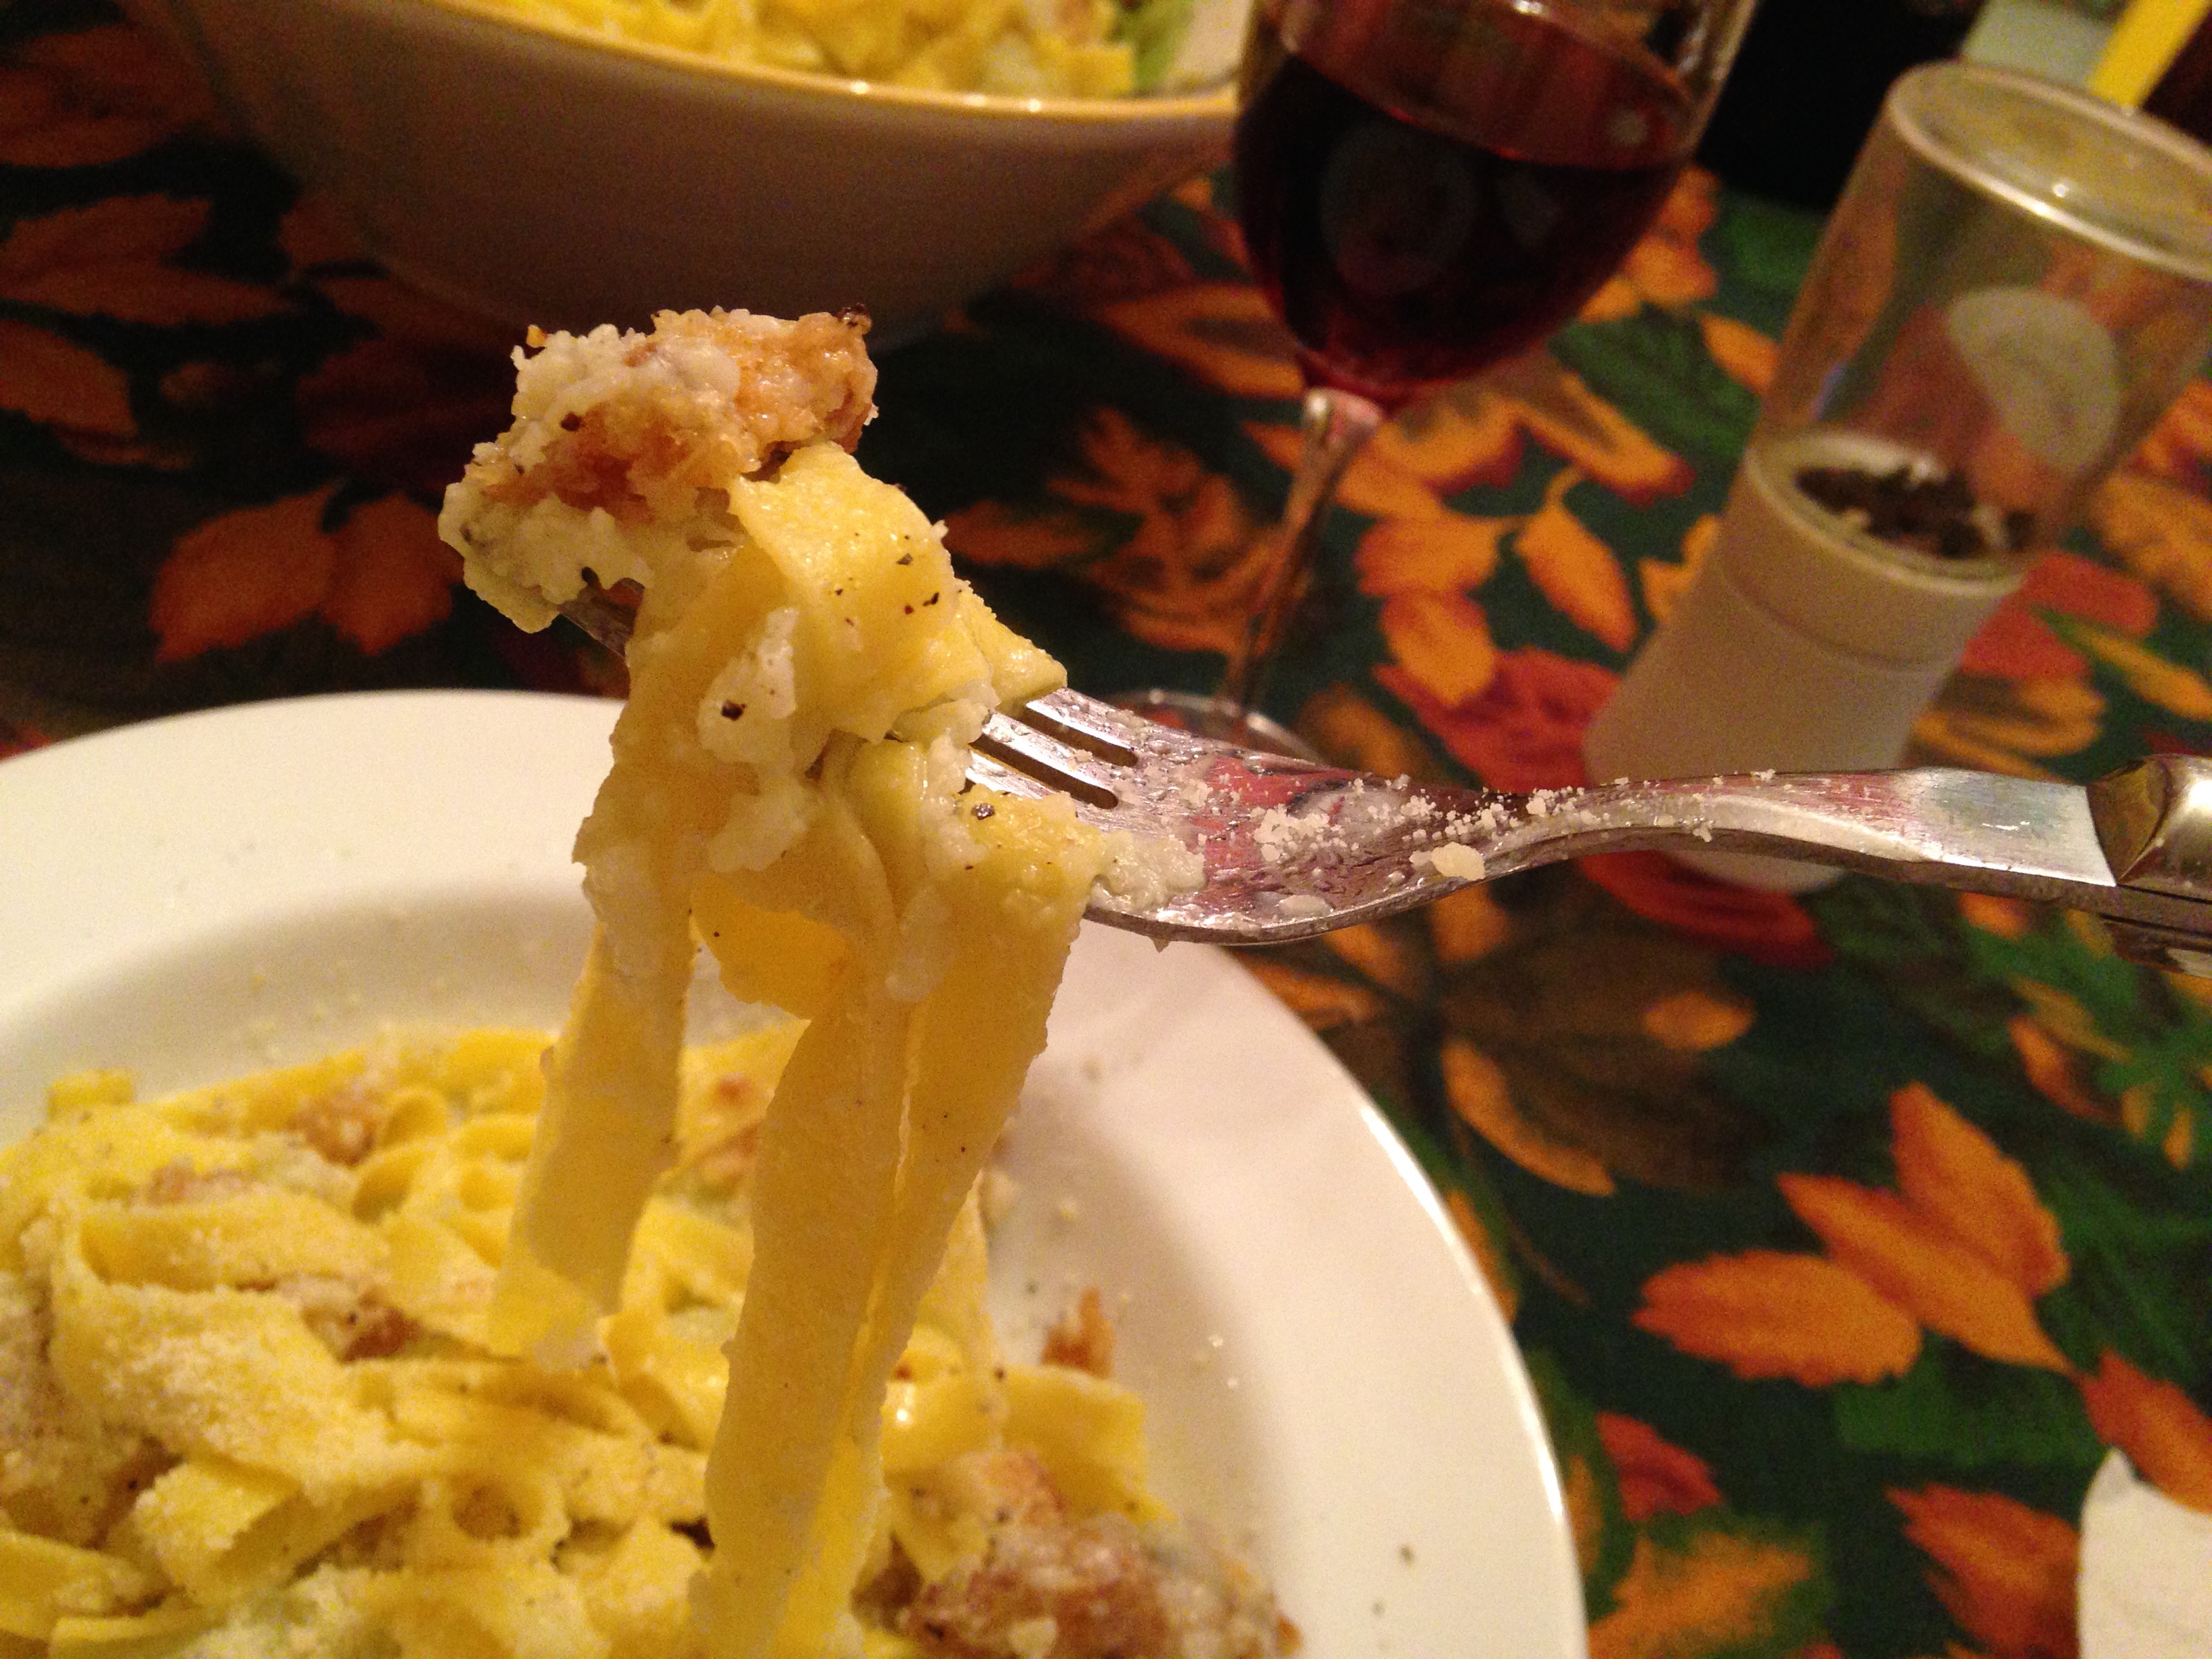
pasta with cauliflower and toasted bread
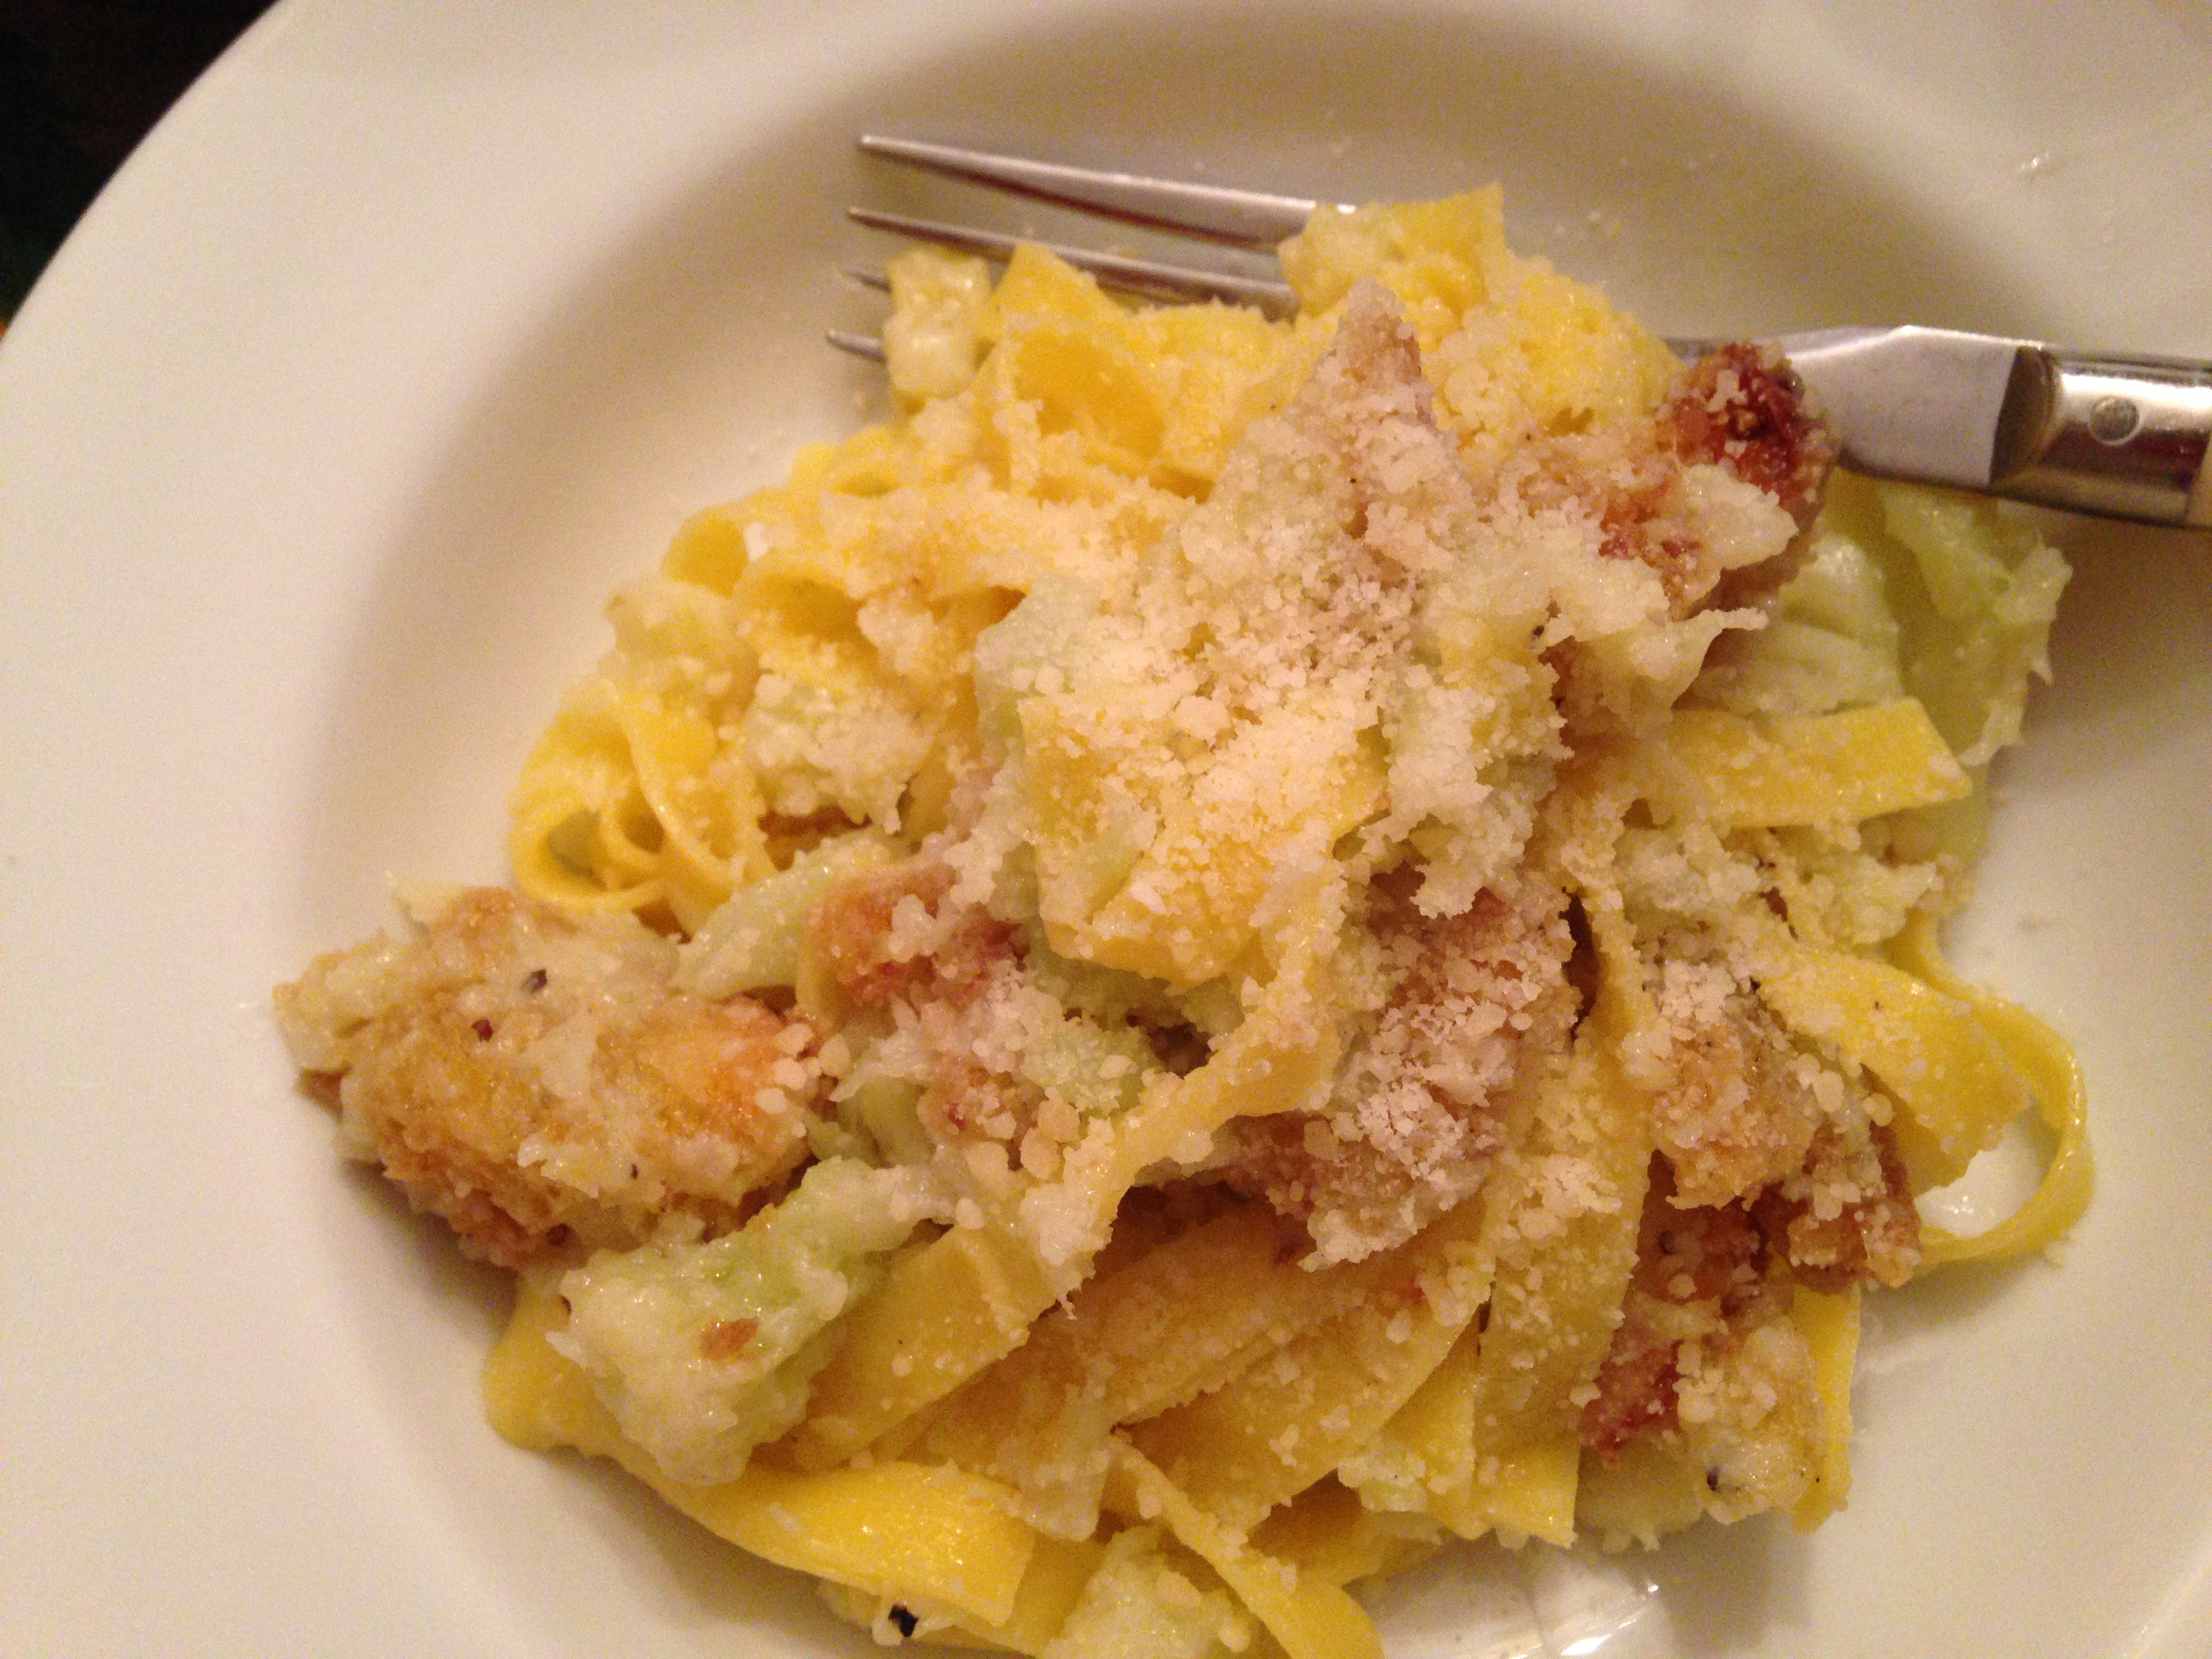
Serve, passing cheese and pepper at the table.

your serving of pasta and cauliflower

my serving of pasta and cauliflower
Yum Yum Yum Yum Yum.

delicious!
Pasta with Cauliflower and Crispy Bread
Serves 4-6
1 large head cauliflower, cut into 2-inch pieces
1 lb. pasta, ziti or orecchiette, or your favorite
2-3 cloves garlic, minced
1 loaf of Italian peasant bread, or similar
¼ – ½ cup olive oil
½ cup grated pecorino or parmigiano cheese
Preheat oven to 375 degrees F.
Fill a large pasta pot with water and bring to a boil. Season water with salt and add the cauliflower pieces.
Meantime, tear up the Italian bread into bite-sized pieces.Toss bread with about ¼ cup olive oil, and the minced garlic. Spread out on a sheet pan and bake until golden and crispy. Set aside.
When the cauliflower is tender add the pasta to the pot. Cook until al dente. Reserve a cup of pasta water.
Drain pasta and cauliflower and transfer to a serving bowl. Cauliflower should be broken into small pieces and almost like a cream. Add the bread and cheese. Add a little olive oil. Add some pasta water if too dry. Check seasoning and add salt if needed…and a little pepper. Serve with extra cheese on the side.