I don’t remember the first time I tasted my mom’s homemade meatballs. I was probably a baby. Meatball eating in some Italian families starts early. The flavor? From back then I can’t remember, but I’m sure my “meatball palate” began its well-seasoned and experienced journey from that first moment.
Meatballs in restaurants are always just “okay.” They never have the taste I’m expecting. Never match up to that taste I’ve learned to crave.
Of course, when I started cooking I needed the meatball recipe from my mom. Seems implausible, but her recipe has shifted and changed over the years — keeping to the main standards, but with a tweak here and there.
When I got my hands on her recipe I ended up doing my own tweaks (for years I used to use ground turkey!) (not anymore).
My relatives, all Italian-Americans, have their own household’s favorite meatball recipes. And despite my mom and her sister, Lily, growing up in the same household, their recipes are different — not a lot– but still different. So much so that it’s well-ingrained in family lore that: Aunt Lily makes the best meatballs.
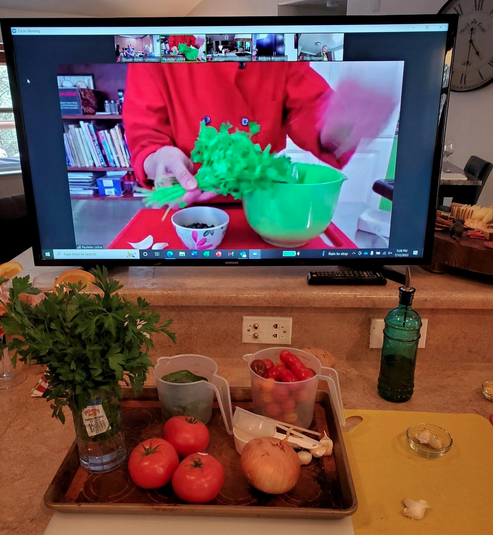
We all spent last Christmas eve at my cousin Angela’s house (Angela, Lily’s daughter & my first cousin). We animatedly talked about food instead of the latest urgent politics. Food’s more important, you know.
We thought we’d document the mysterious differences between Aunt Lily’s recipe and my Mom’s recipe. We asked them to explain. They did, in their cutest ever natural style. And we recorded it. Have a look! (And then below, here’s the recipe I use, culled together from all kinds of family input, and then my own I’m-doing-it-my-way decisions.)
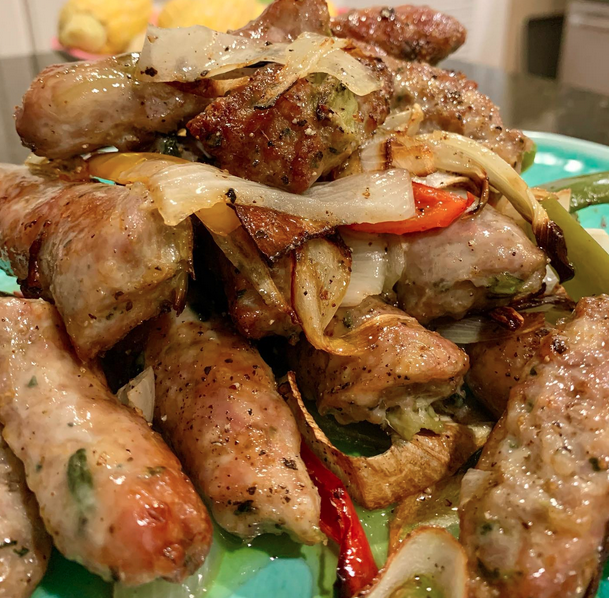
Meatballs in Tomato Sauce
For the Meatballs:
1 lb. ground beef
1 egg
1/3 cup grated Parmigiano or Pecorino
2 slices thin white sliced bread
1/3 cup milk
3-4 parsley sprigs, leaves minced
salt & pepper to taste
For the Sauce:
2 tablespoons olive oil
1 small onion, diced
2 garlic cloves, peeled and smashed
¼ – ½ cup dry white wine
1 28-oz can crushed tomatoes
Preheat oven to 375 degrees F.
Make the meatballs:
Pull the crusts off the bread slices and discard. Rip up the bread middles into a small bowl. Cover with milk. Let soak for about five minutes. Meanwhile, mix the egg, cheese, and parsley with the beef in a large mixing bowl. Lift bread from milk and squeeze out. Add soaked bread (without the rest of the milk) to the meat mixture. Season all with salt & pepper. Mix well to combine.
Line a sheet pan with foil or parchment. Drizzle a thin coat of olive oil on top. Form meatballs – about two inches round or your favorite size – and line them up on the pan. Roast until cooked through, about 25 minutes. Remove from pan to the tomato sauce (see below). Let simmer or just sit in sauce for 10-15 minutes.
Make the Sauce:
Heat the oil in a large sauce pan. Sauté the onion for about 5 minutes until softened. Add the garlic and cook for another 1-2 minutes. Add the wine and let evaporate by half. Add the tomatoes. Season with salt & pepper. Simmer for 10-15 minutes. Add meatballs, simmer 5-10 minutes more. Serve with pasta.