The Joys of Espresso
My first encounter with stovetop espresso was in Rome in the late 1970’s. I shared an apartment with Grazia Enrica Brunelli in the neighborhood of Trastevere. Enrica, a quintessential Roman, made stovetop espresso every morning. That’s where I learned it. That’s where it became part of my morning routine. With its aroma and distinctive flavor, I bring Rome with me wherever I go. One sip and the Roman air swirls around me. I can hear the vespas speed by the window. I can elicit the unique aura that only umbrella pines and ancient ruins can muster into the atmosphere.

Rome: umbrella pines and ruins
Bring Italy home for yourself. Here’s how to make the coffee. Then let your imagination channel the rest of Rome into your morning. Evening. Afternoon. This elixir summons any part of Italy into your immediate realm.
And it’s easy to do.
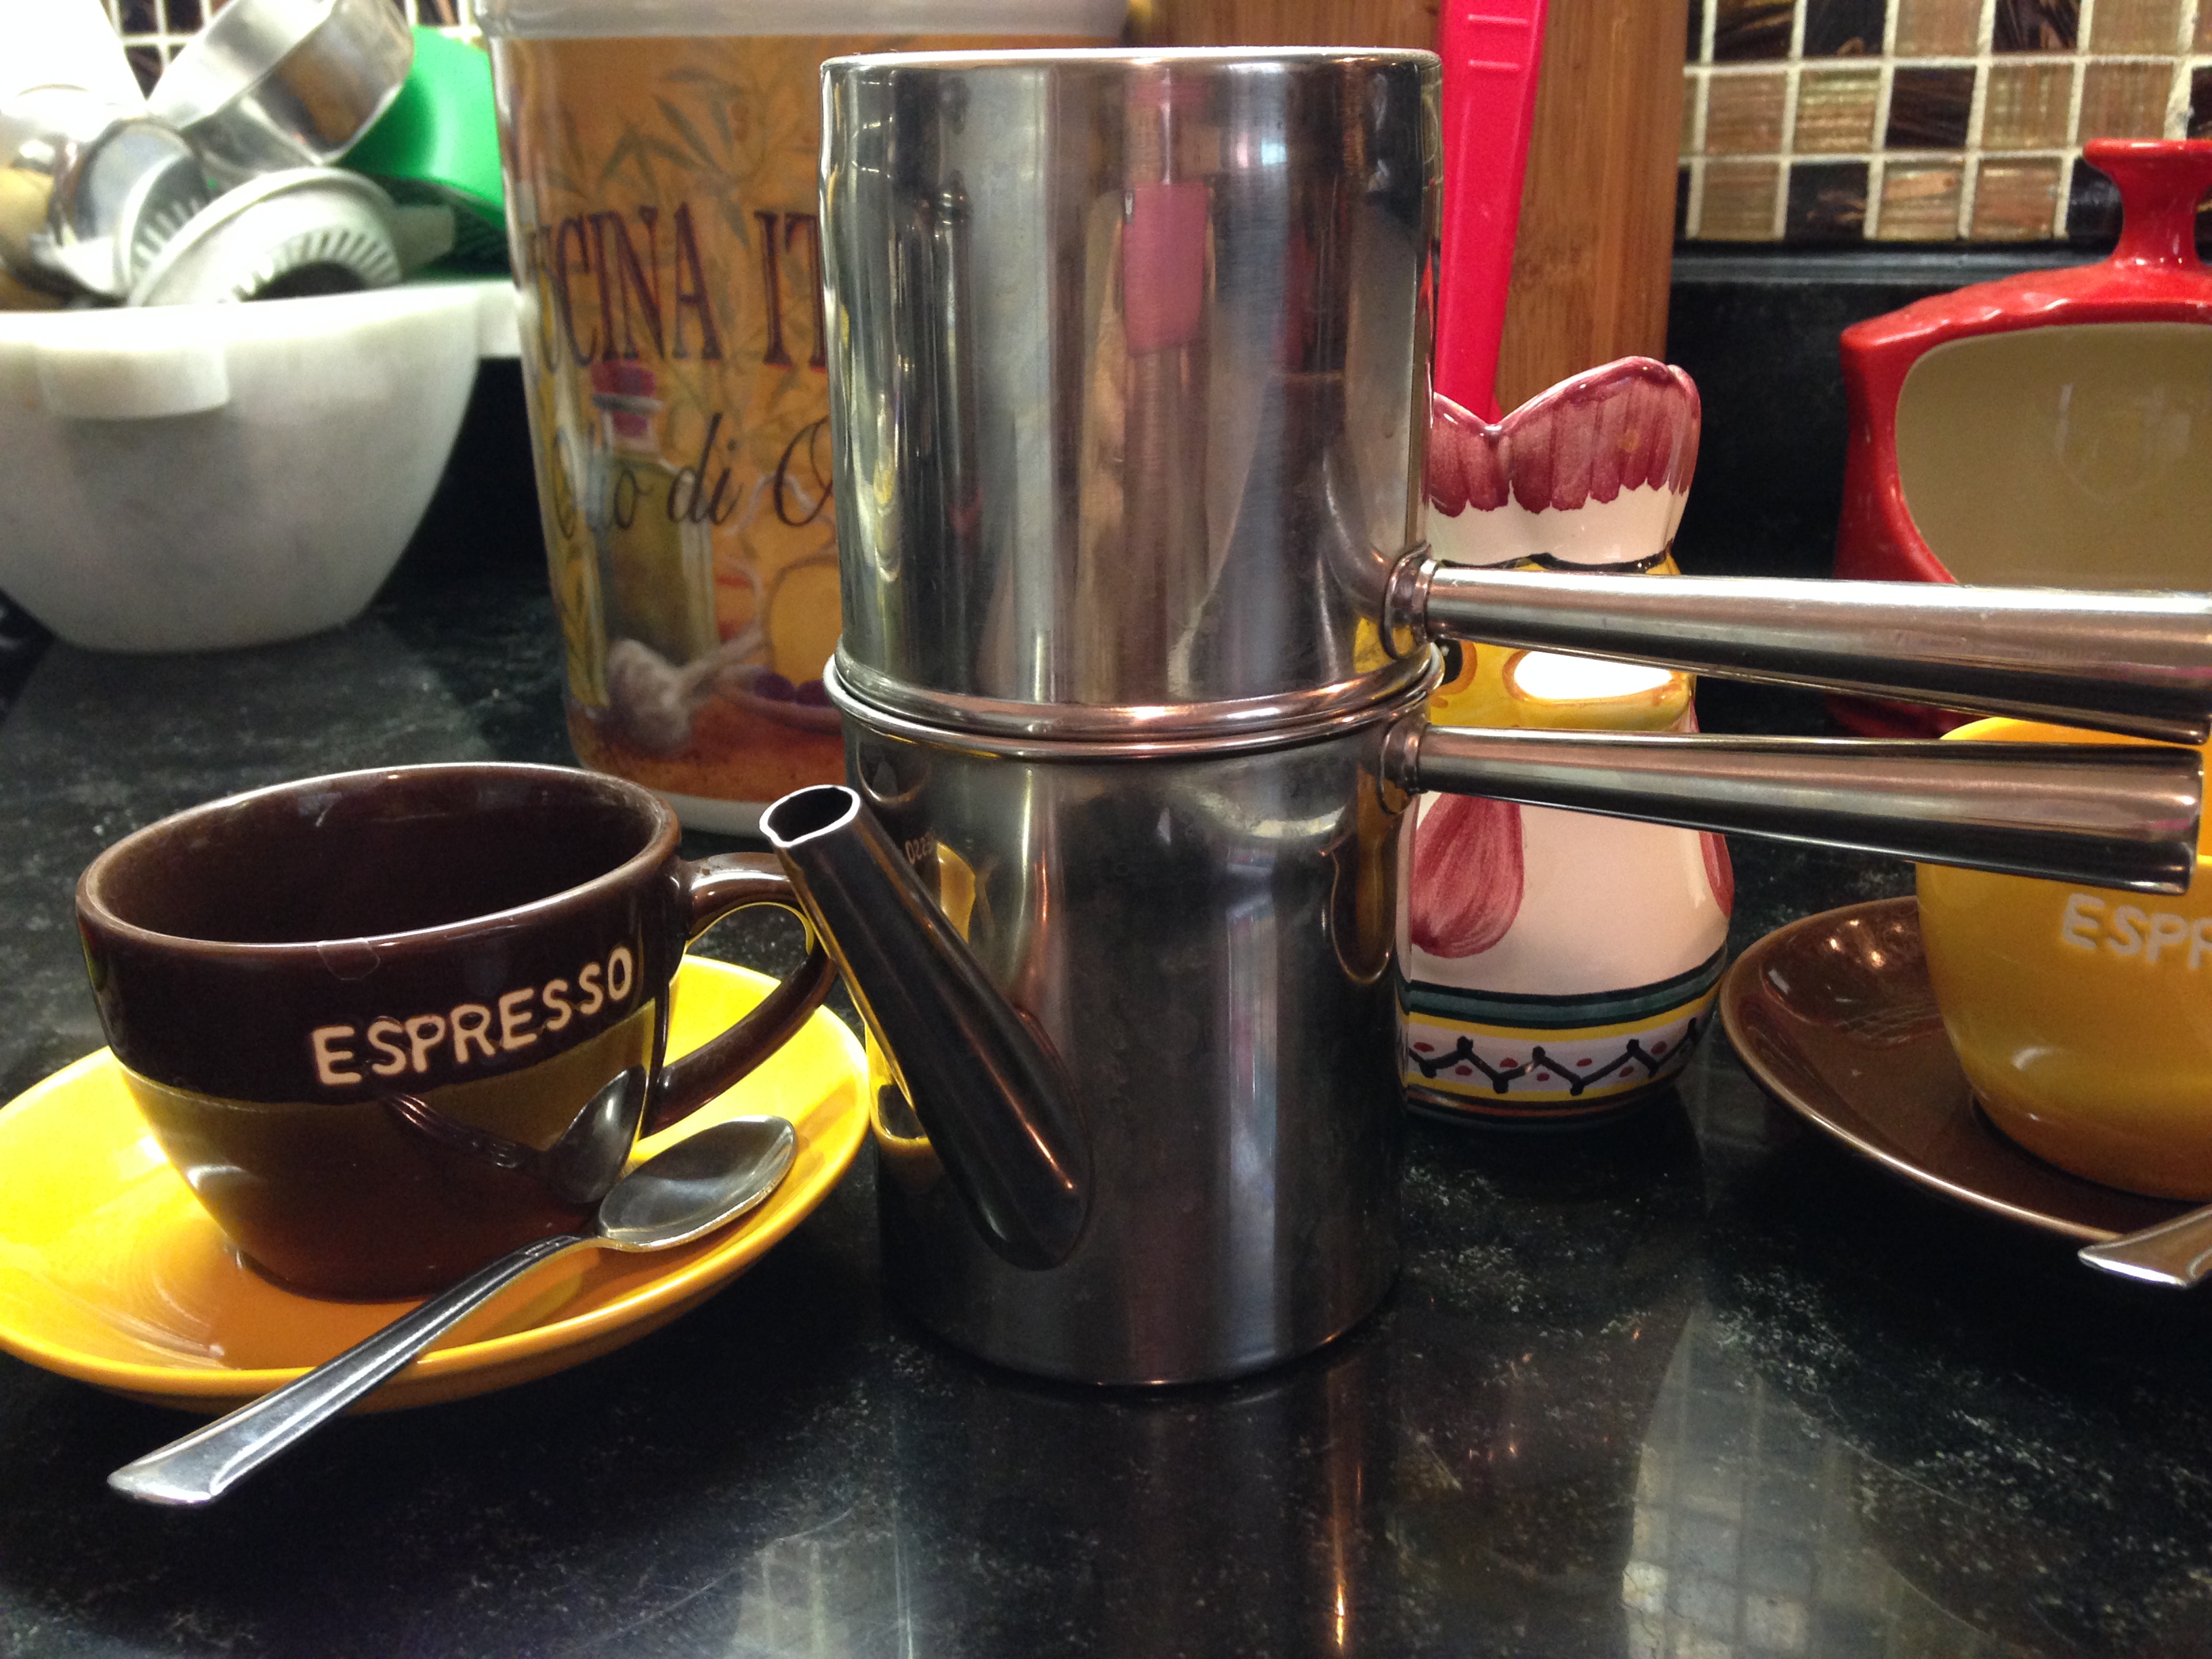
I have a small collection of espresso pots. (And 1 napolitana pot.)

espresso and napolitana pots
They are easy to find online, in housewares stores, TJ Maxx, too. But do make sure you get one that is made in Italy. There are some impostors running around that are Made in China (with Italian names on the labels). I haven’t encountered one China-made espresso pot that is worth getting. The most popular Italian-made pot is Bialetti Moka-Express. Look for the little man pointing above his head.
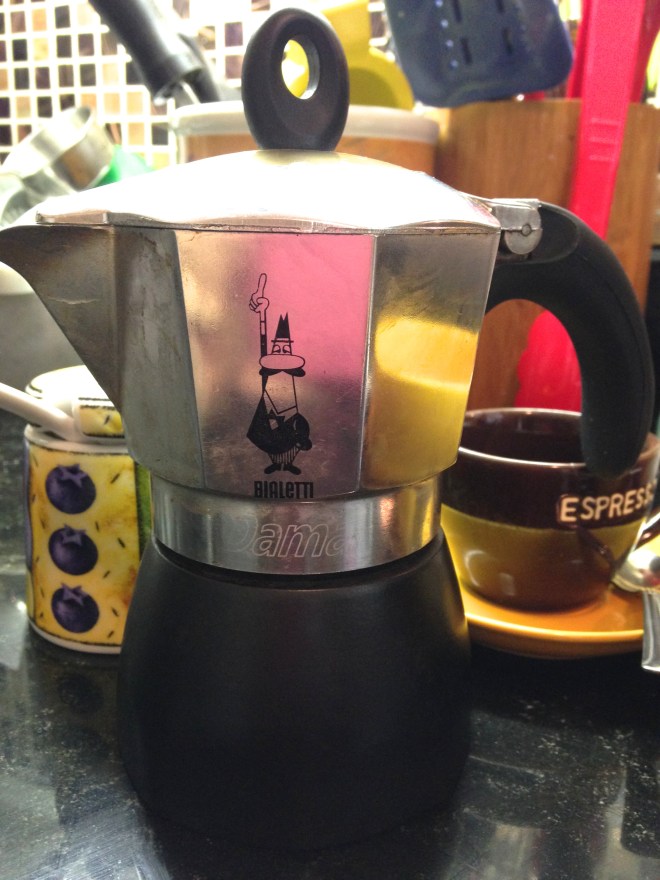
Bialetti Moka-Express
You’ll find different sizes. When they say 6-cup or 4-cup remember they are talking espresso size, the size of 6 or 4 espresso “shots.” So choose accordingly. Families keep these pots for generations. There’s a rubber washer inside that can be replaced if the original deteriorates (that might take more than 20 years!). Even if the black handles break off, people keep them since the pot still works fine without it (use a bigger pot holder to handle).
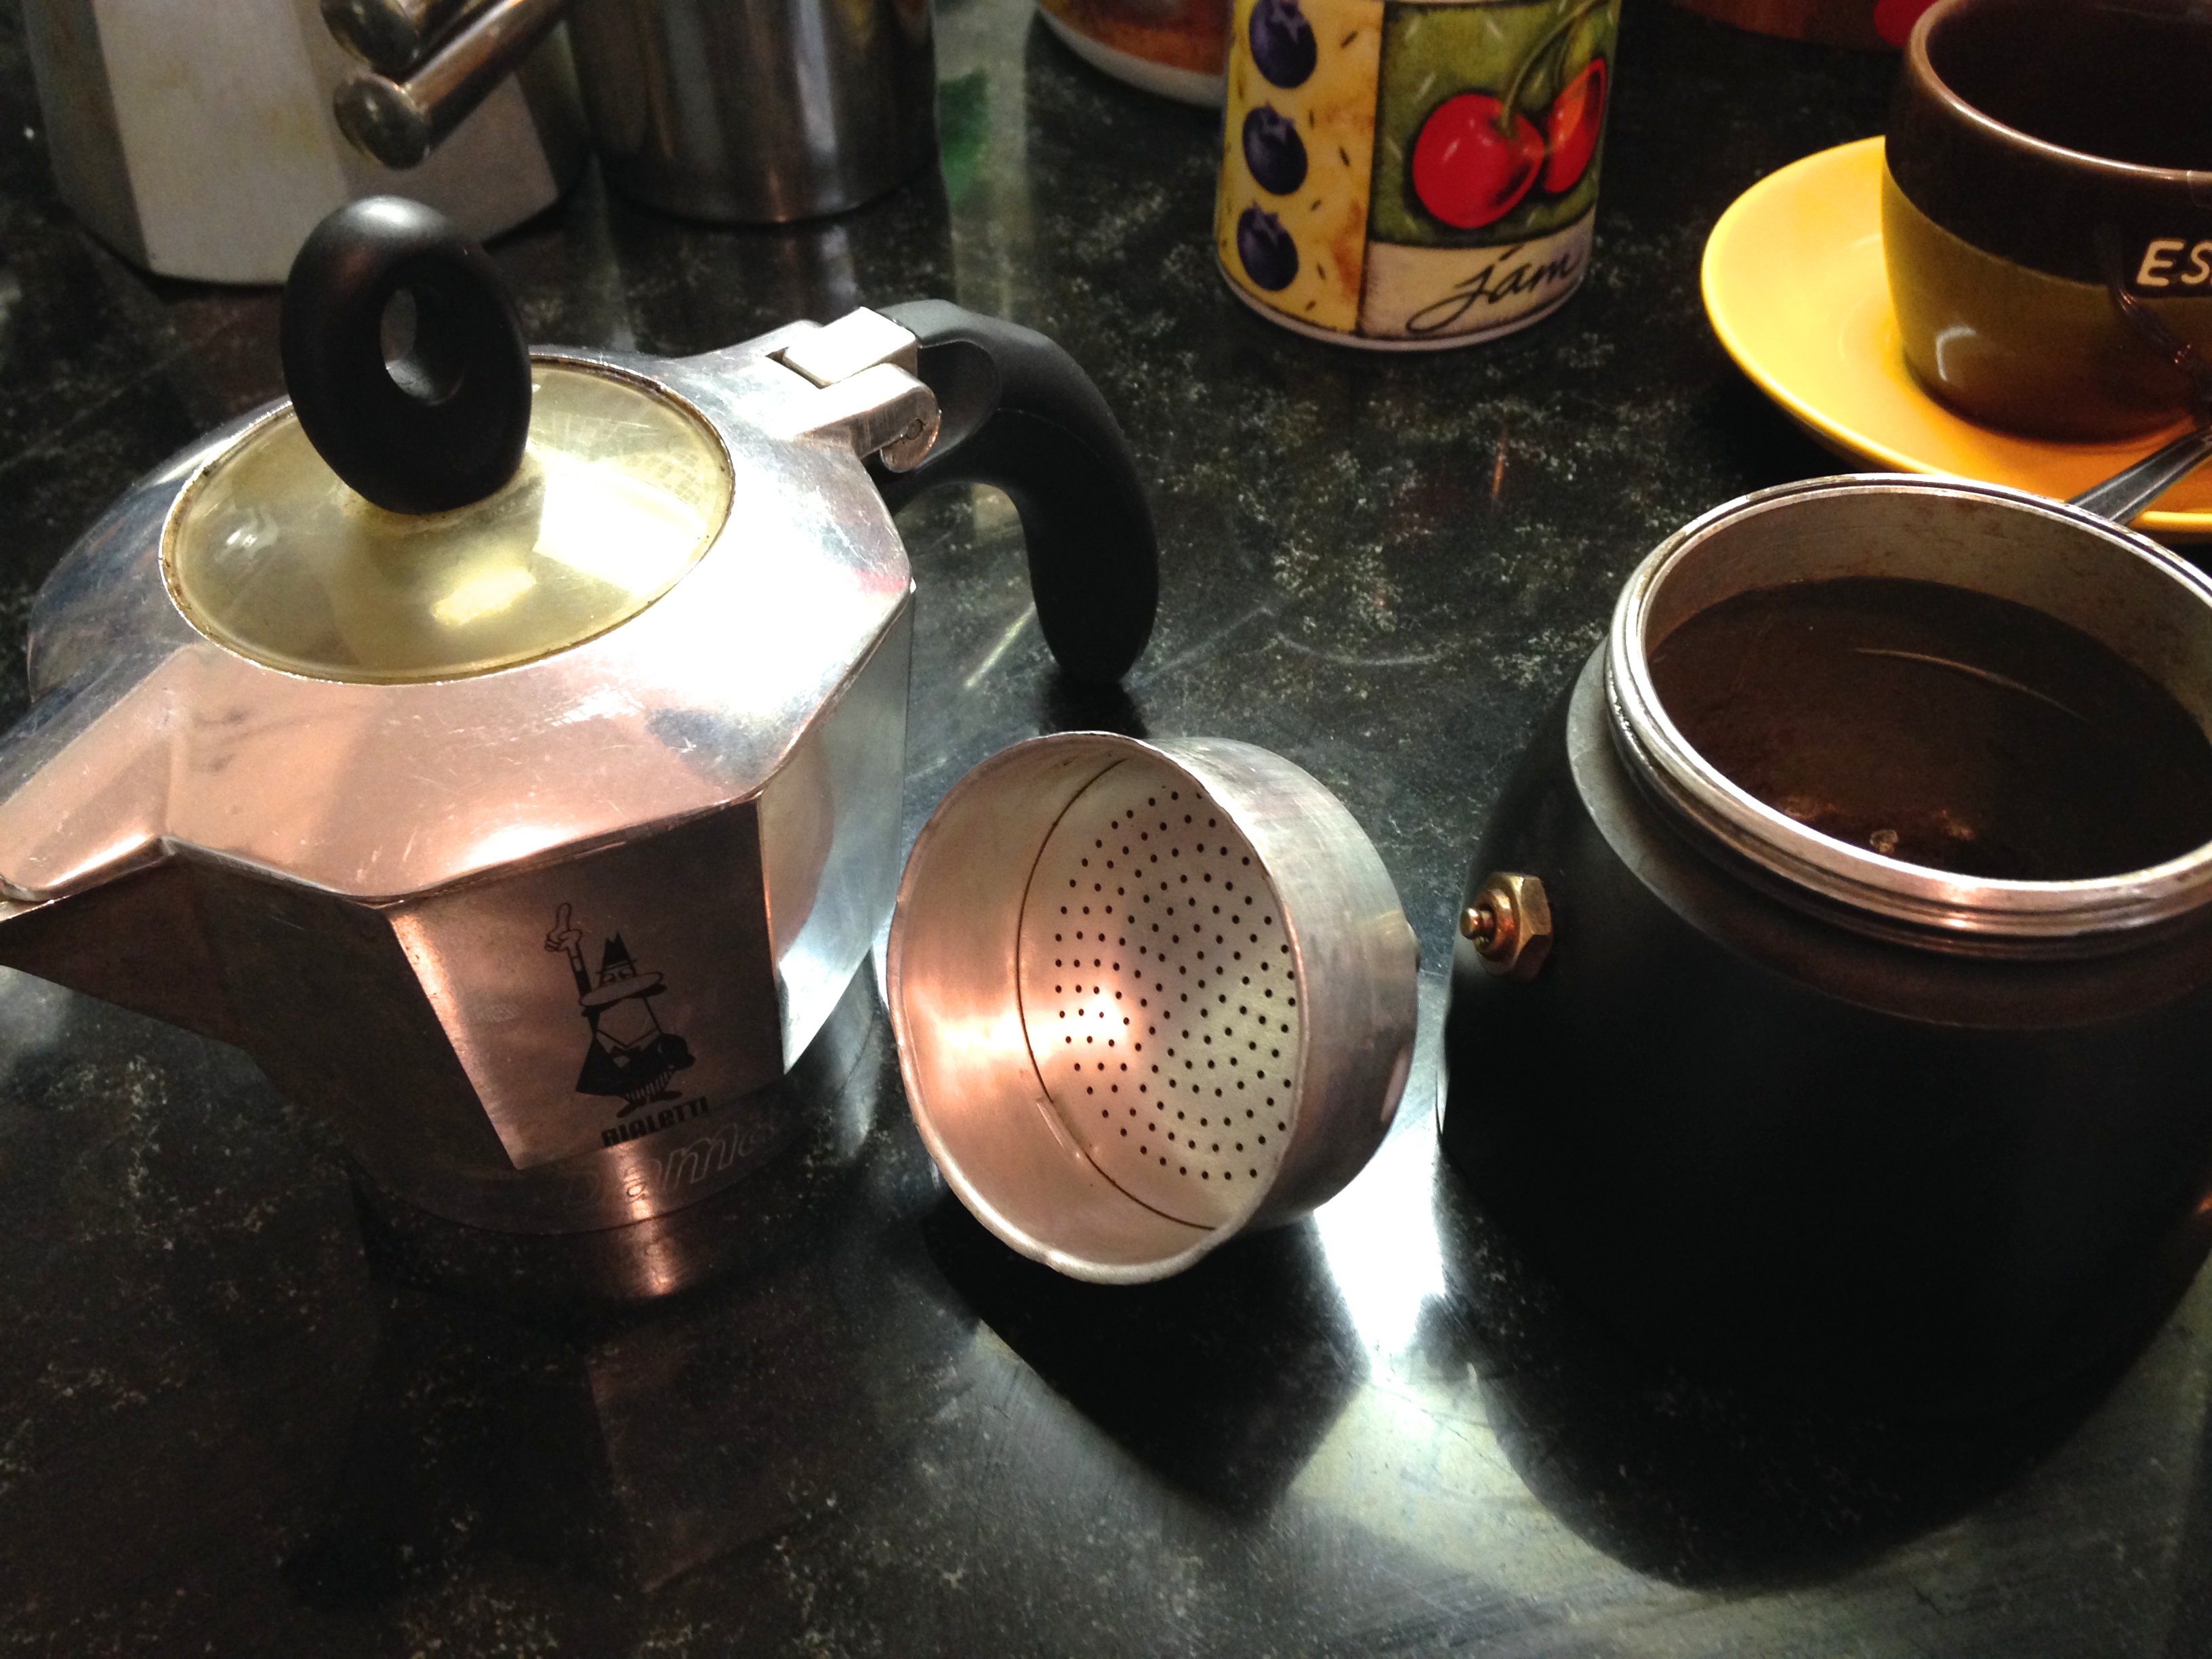
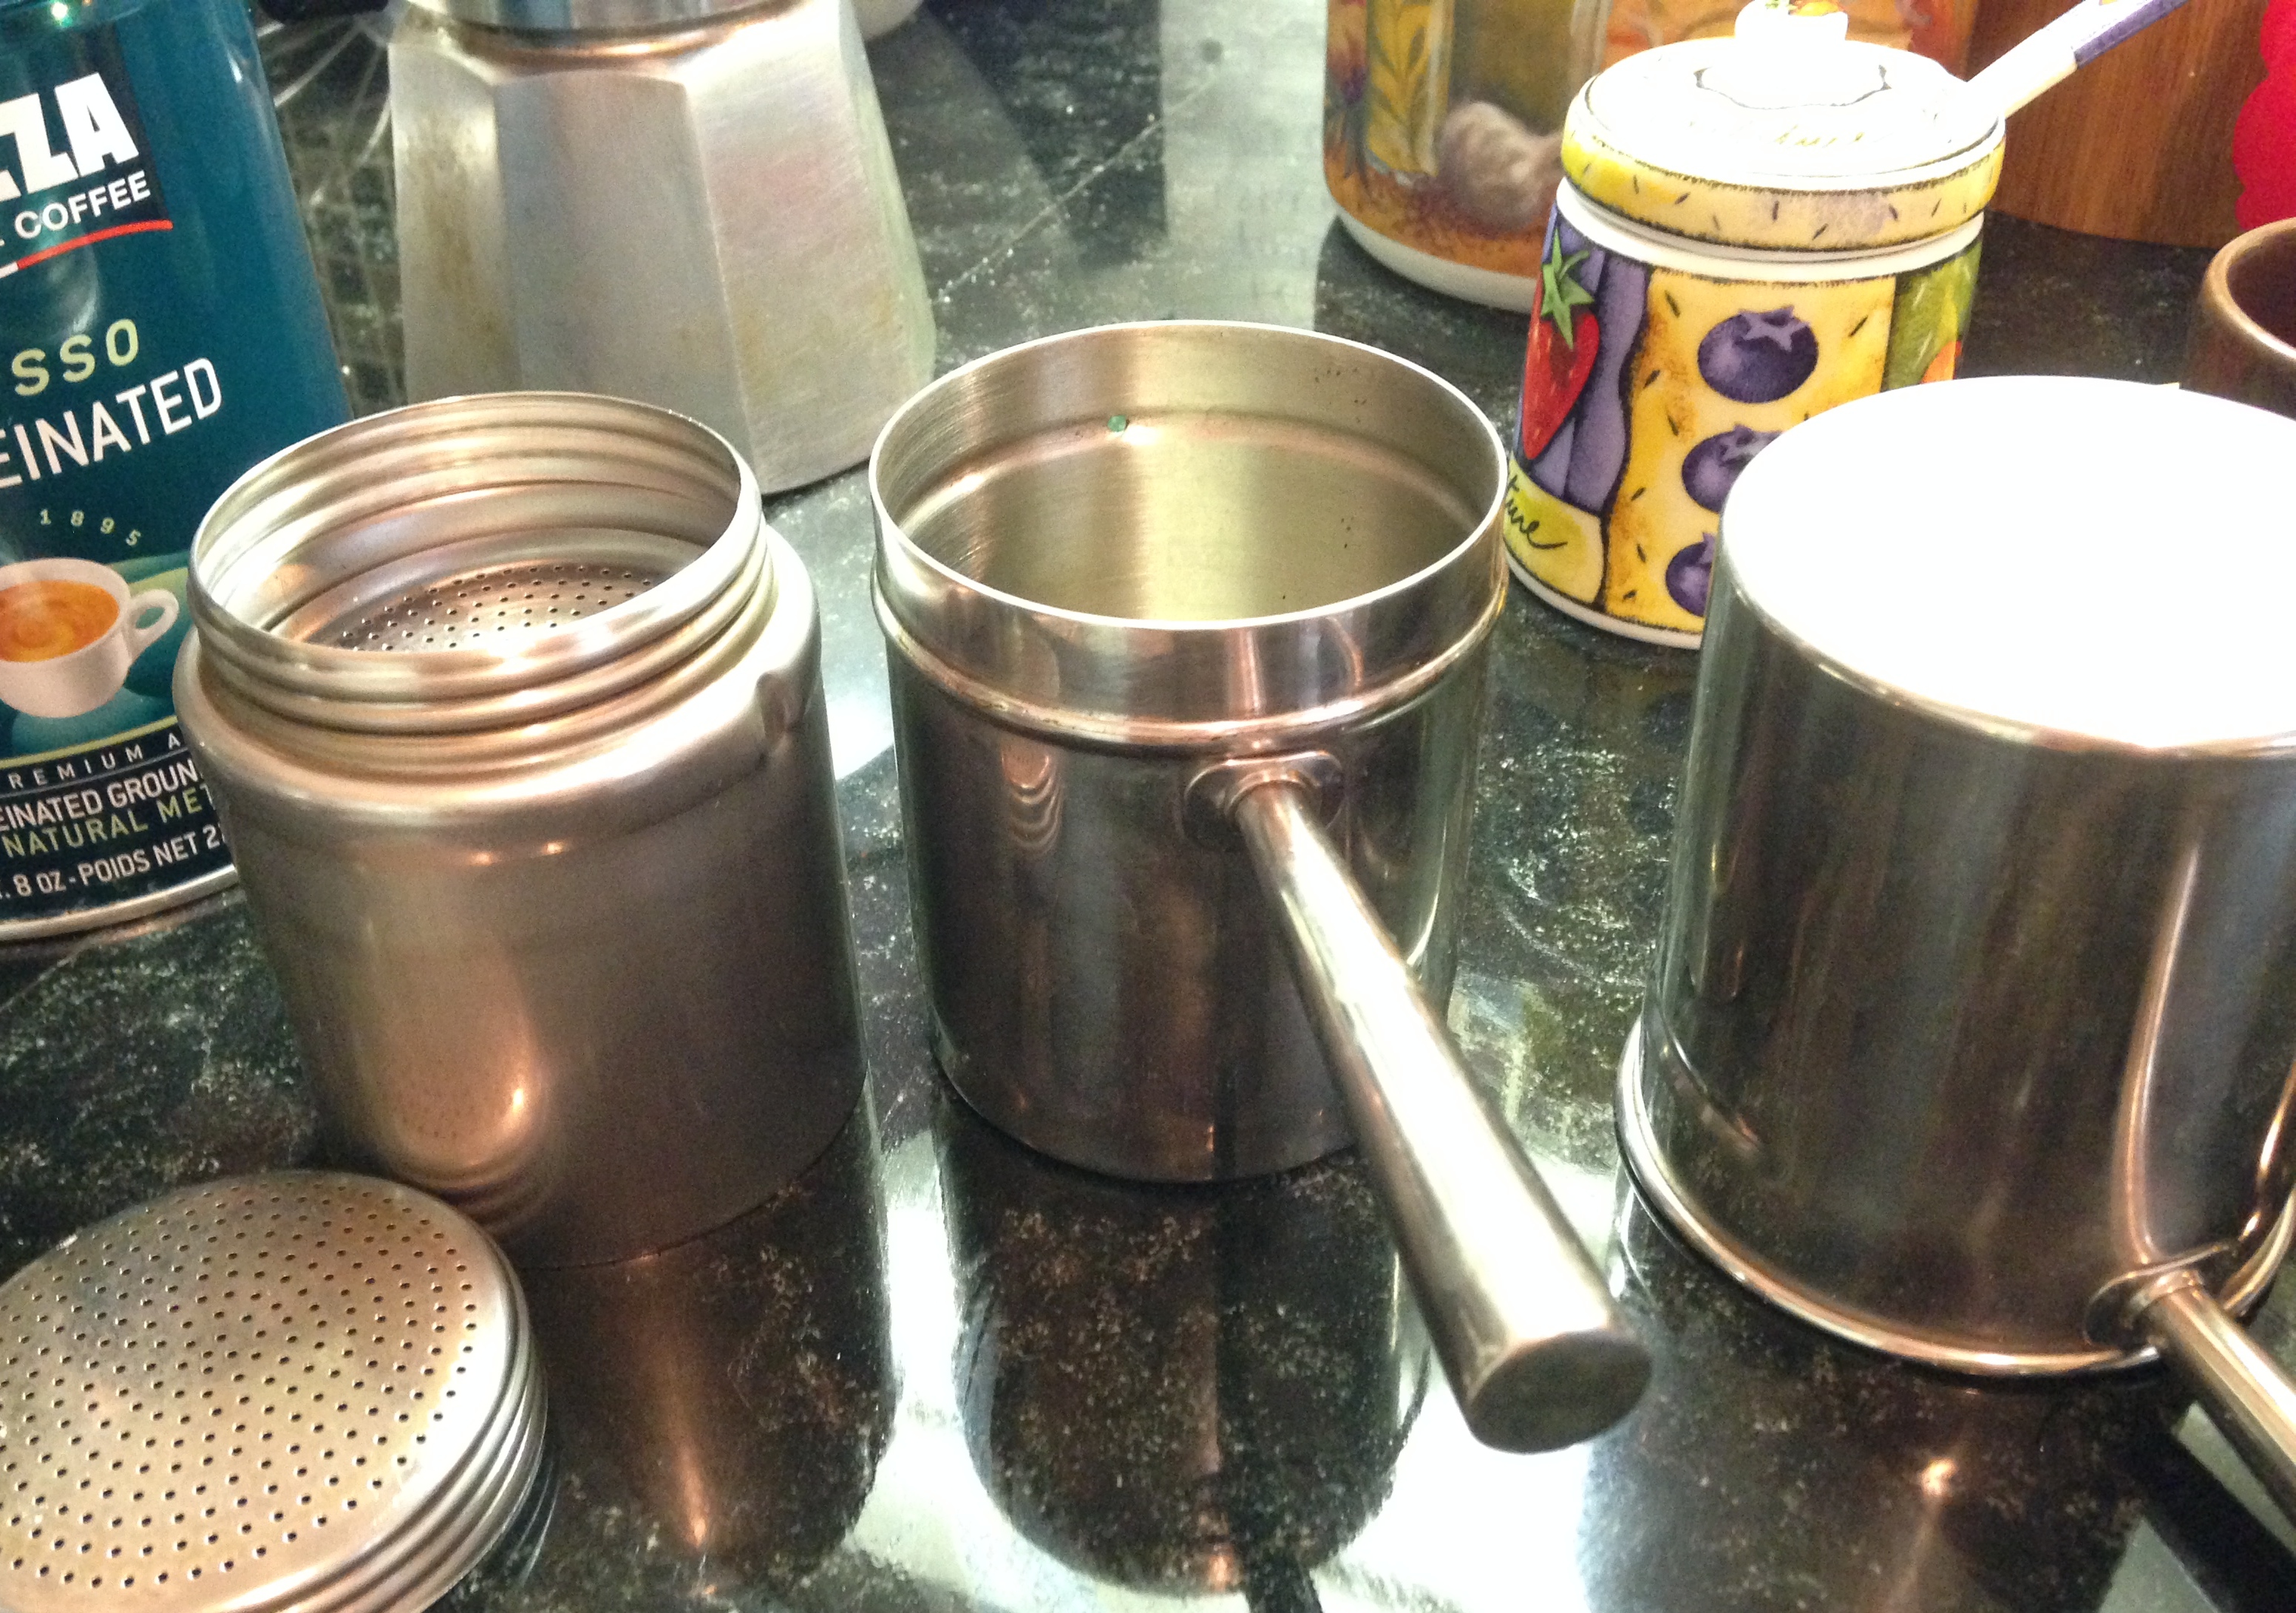
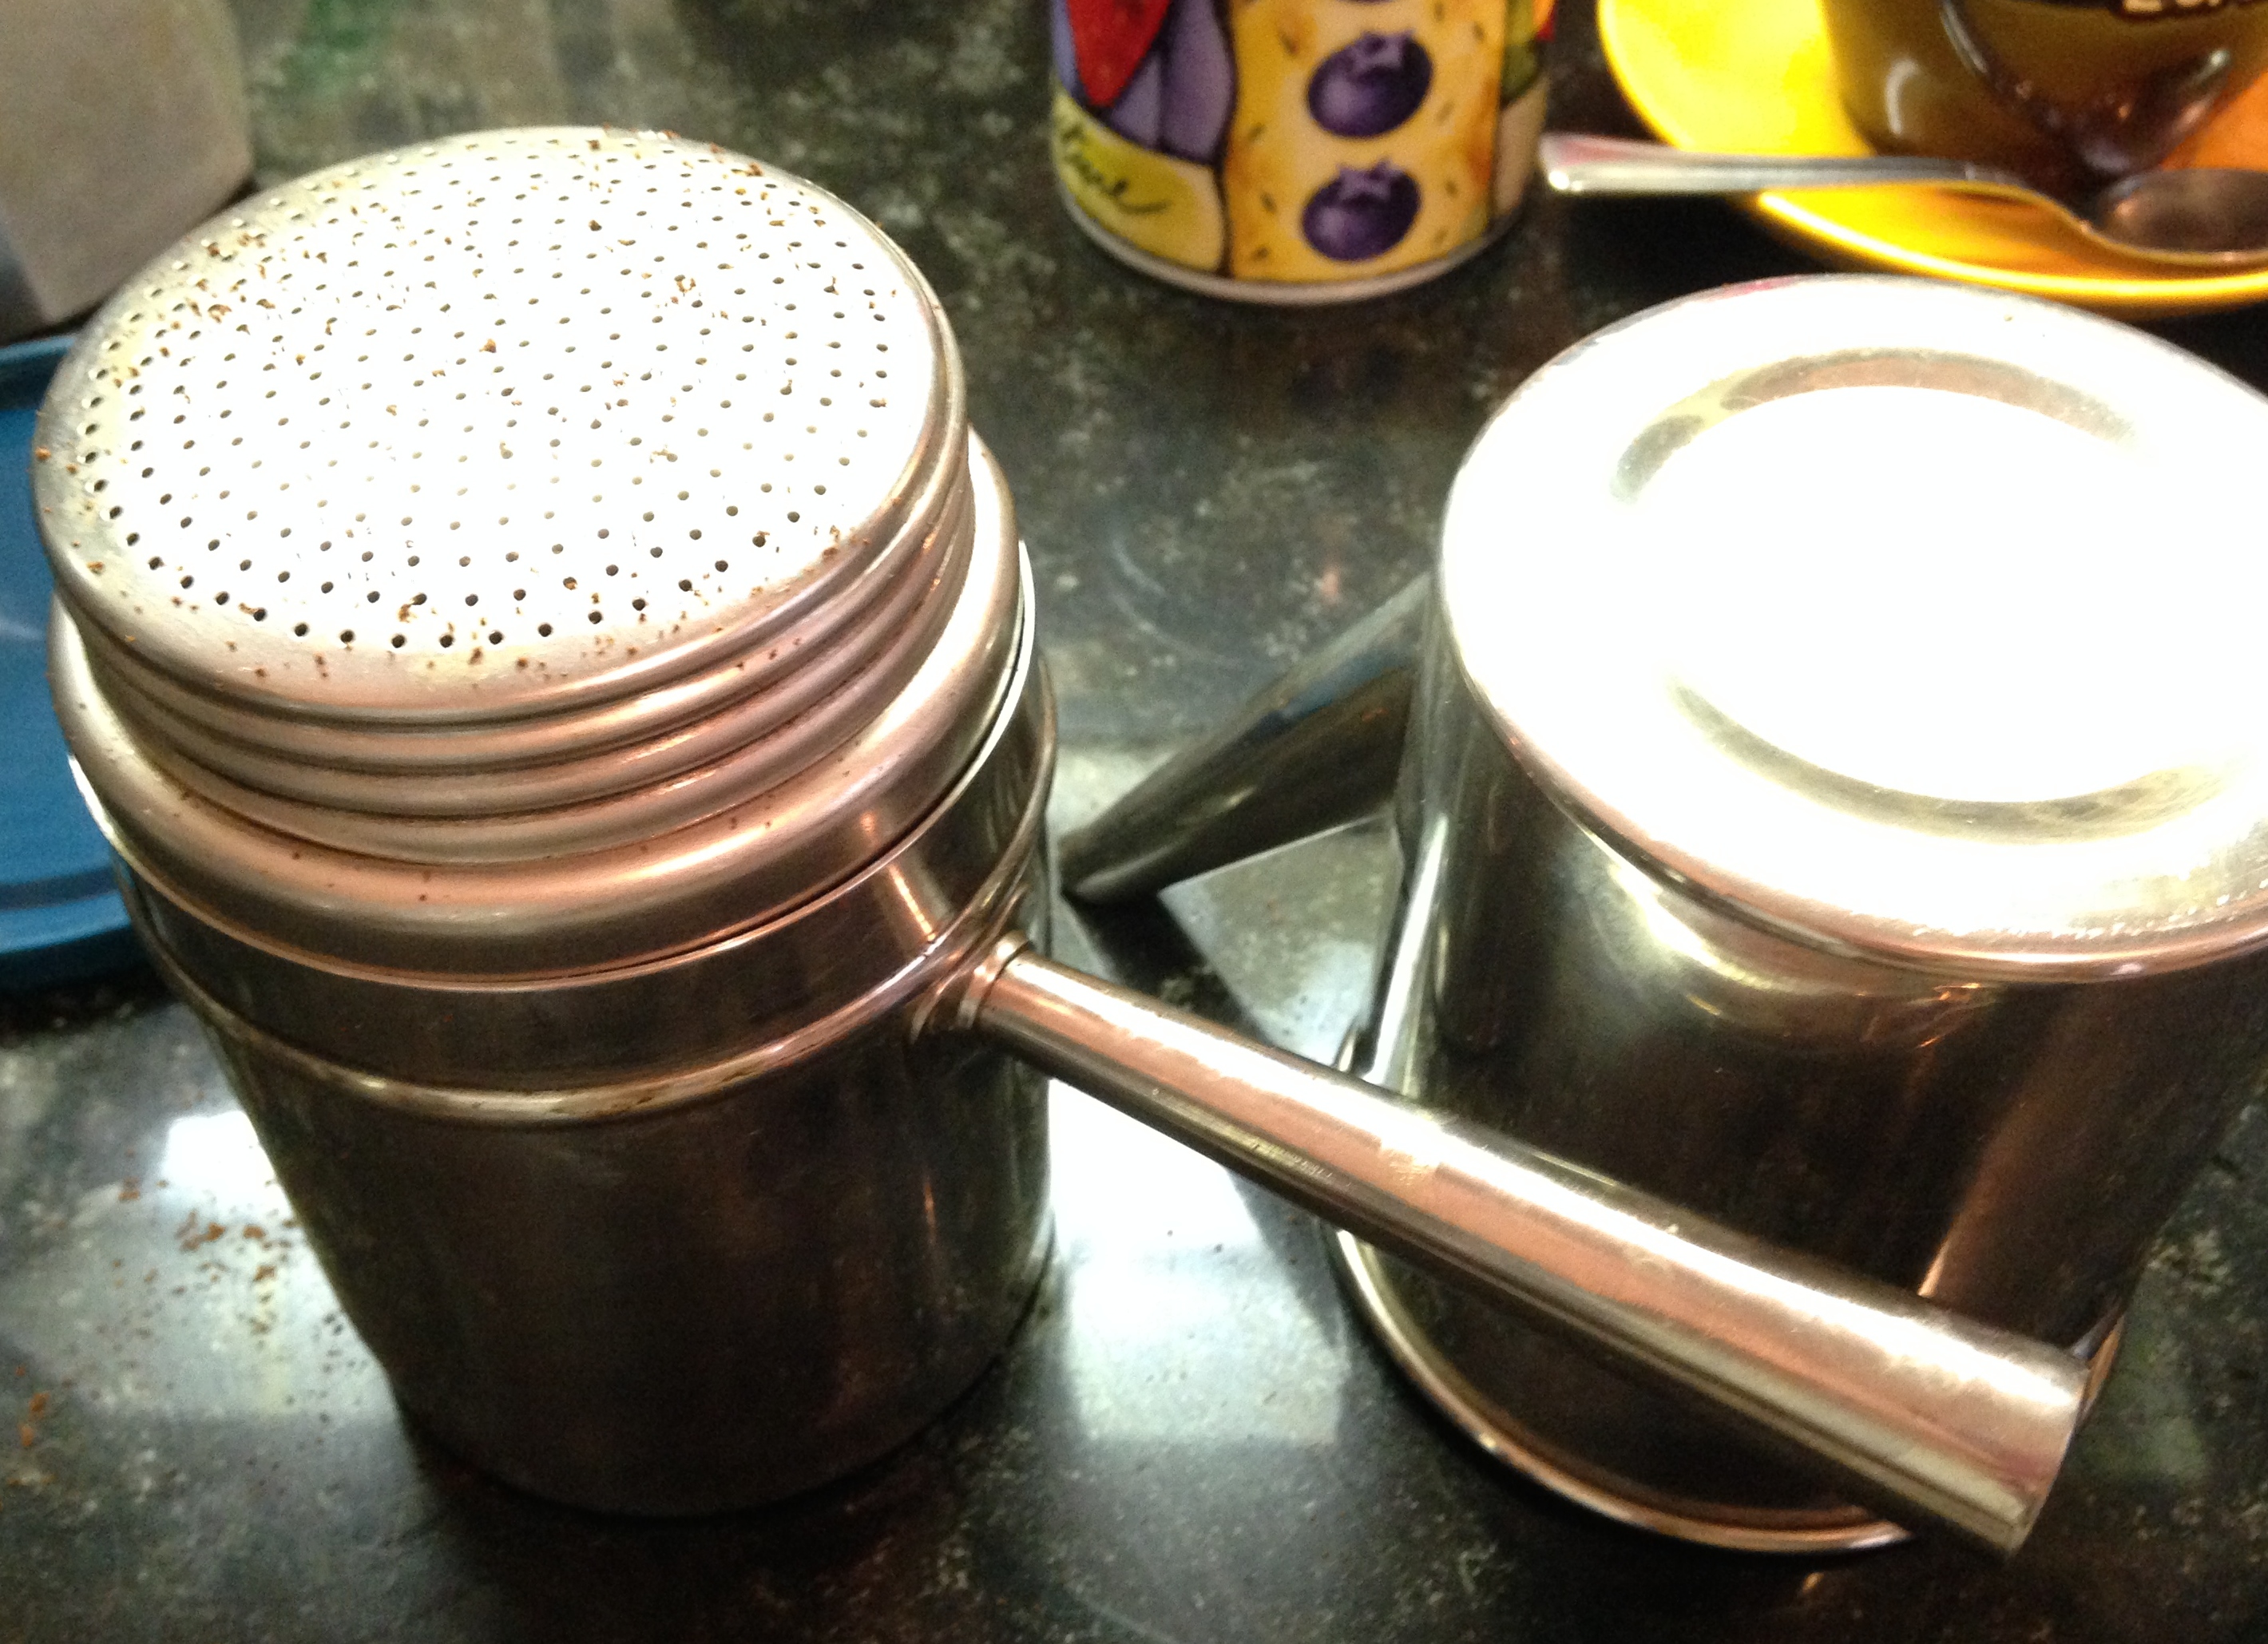
How to make stovetop espresso: Unscrew the pot. Take out the metal filter nestled in the bottom.

unscrew the espresso pot
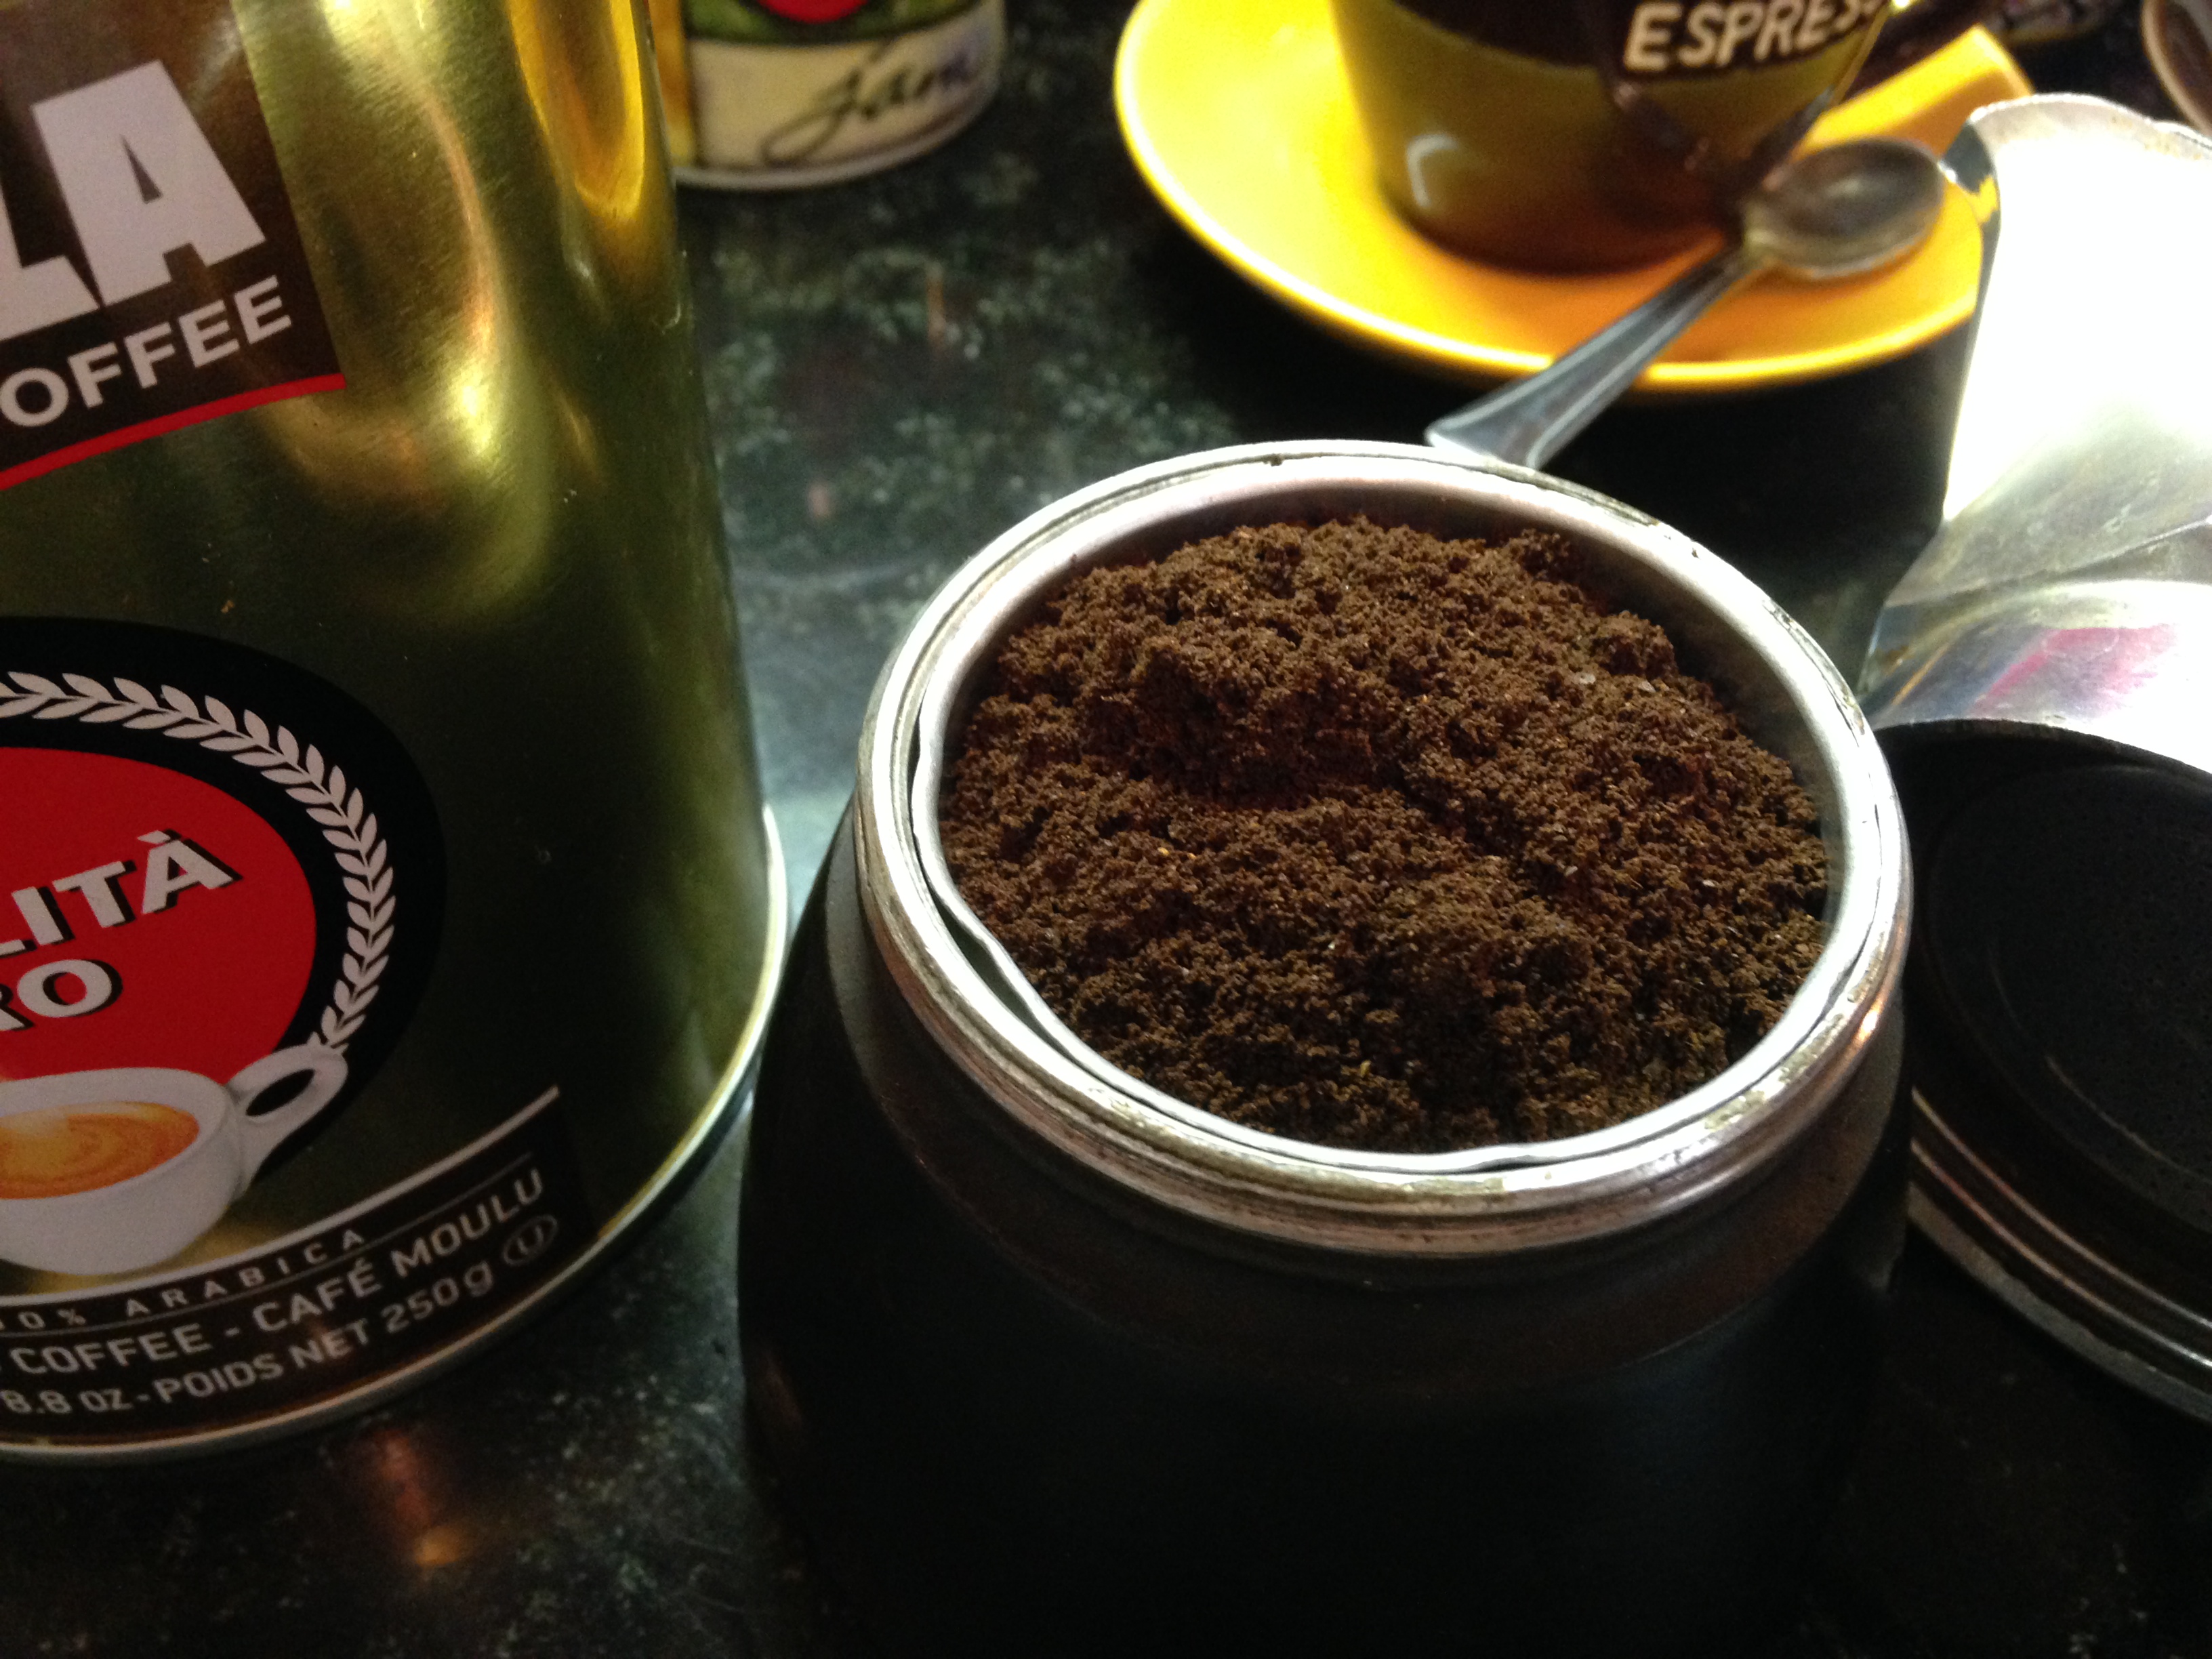
Fill the bottom with cold water up to the metal steam hole. Place the metal filter in, and fill the filter with espresso coffee.

coffee in filter
IMPORTANT: for the best flavor use Italian espresso coffee. It’s roasted darker than French roast and delivers that characteristic flavor. I like the brand Lavazza.
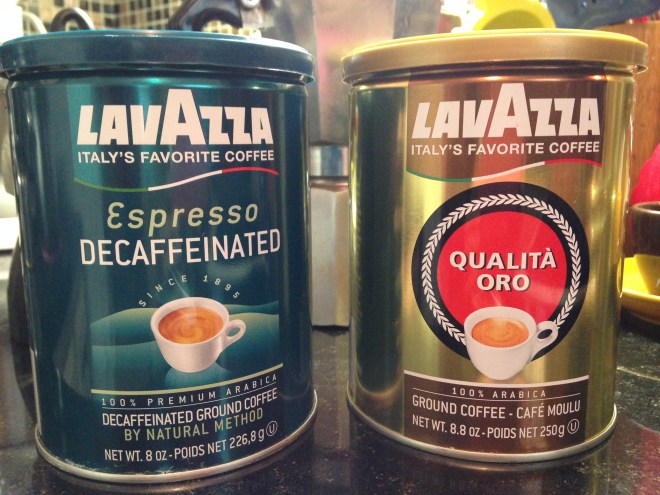
Lavazza coffee
Screw the top onto the pot tightly. Too loose and water will steam out of the sides instead of up through the ground coffee. Place pot on your stovetop burner, gas or electric. I try to place it so that the handle is not over the heat.
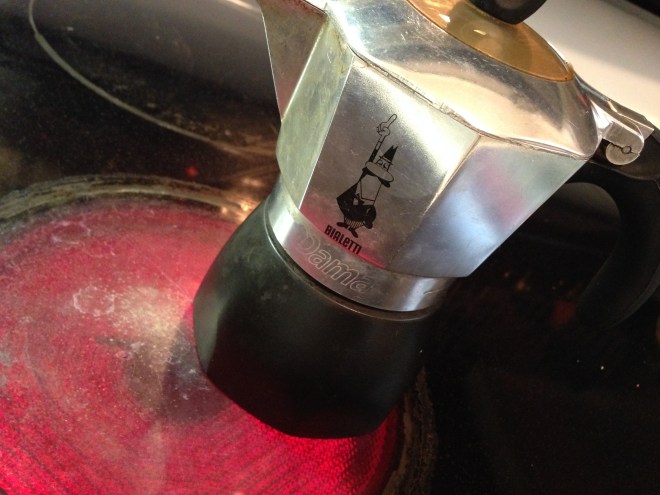
espresso pot on stove
I set the burner on high or medium high. Stay by and watch. The water in the bottom of the pot will heat up, boil, and push up thru the coffee (“espress”) and perk out thru the hole in the top of the pot, filling the top of the pot with finished coffee.
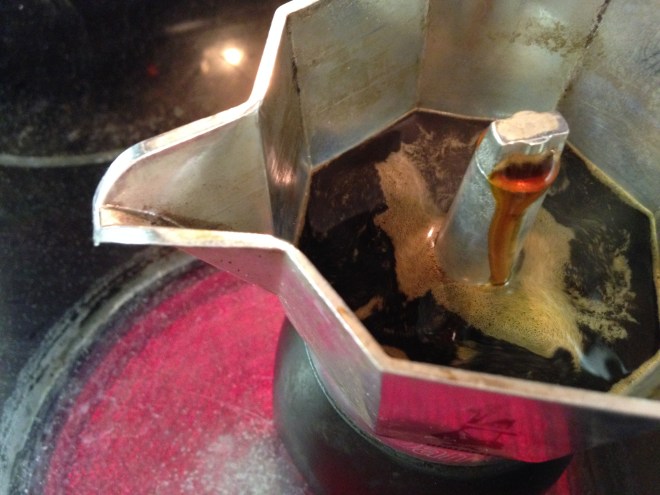
coffee spouting
When the water starts hissing and pushing up, I usually lower the heat some. Turn off heat or remove pot when the top is almost full so that it doesn’t boil over.
Be careful handling the hot pot. Pour your espresso.

pour your espresso
Add milk if you like (you can warm the milk first, that’s how Enrica did it. I have usually have less patience and just add a bit of cold milk.) (I also like sugar!)
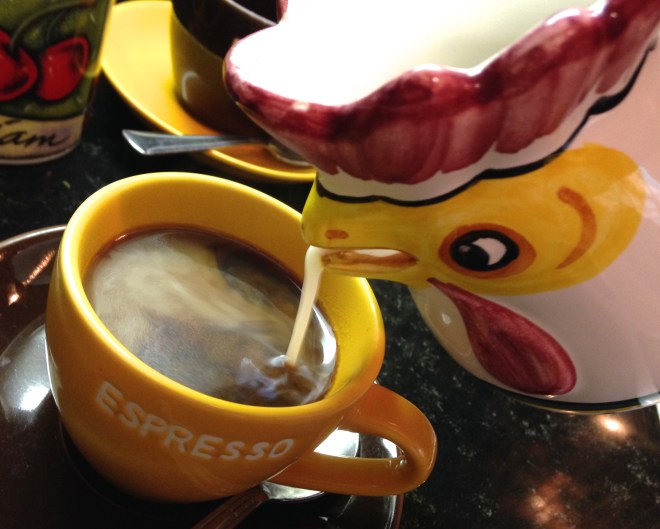
pouring milk
Ecolo! Il caffe tuo e pronto, signora, signore, signorina, ragazze!
When cleaning your pot (wait until it’s cool enough to handle), just rinse it well, you don’t need to use soap. These pots get “seasoned” and the residual coffee oils add to its personality. I once lent a pot to a neighbor and it came back shiny clean. They thought they were doing me a favor!
Now you might be interested in the other stovetop Italian coffee method using the pot known as “napolitana”…which means Naples-style.

napolitana pot
This style is similar to a drip pot but you’re still using espresso coffee. The coffee it creates is a little smoother than the other espresso–not so intense.
Take the pot apart.

napolitana pot
Fill the bottom (the half without the spout) with water up to the little hole. Unscrew the filter and fill with coffee.

coffee in napolitana filter
Screw top on filter and place filter, coffee end up, into the water of the bottom half.

filter in napolitana pot
Push the spout half on top, lining up the handles, and place on the burner (keep handles away from heat and they’ll stay cool for handling).

napolitana pot on stove
Listen for the subtle bubbling sound signaling the water inside is almost boiling. Shut the heat and carefully turn the pot upside down, so the spout half is on the bottom. The hot water will drip through the filter. This will take about 3 minutes, so wait for it to brew…then enjoy!
Here’s another pot I have. It’s a “2-cup” but just enough to fill my tiny mug. I love making my own little pot of espresso. This pot my aunt brought back from Sicily. Buon caffe!

1-serving pot